One of the best things you can do after a long day of hiking or establishing a camp site is to make a good, hearty meal. Or, if you’re like me, I go to the my secret spot in the woods just to escape the busyness of everyday life and enjoy a quiet meal surrounded by nature.
Winter Campfire Cooking
Here in the Appalachian Mountains, Winter is nipping at our heals and the cold is beginning to set in for the year. I’ve been making a lot of heartier meals in the backcountry recently, so I figured it was the perfect time to discuss Campfire Cooking on a Twig Stove with you all. (which is one of my favorite things)
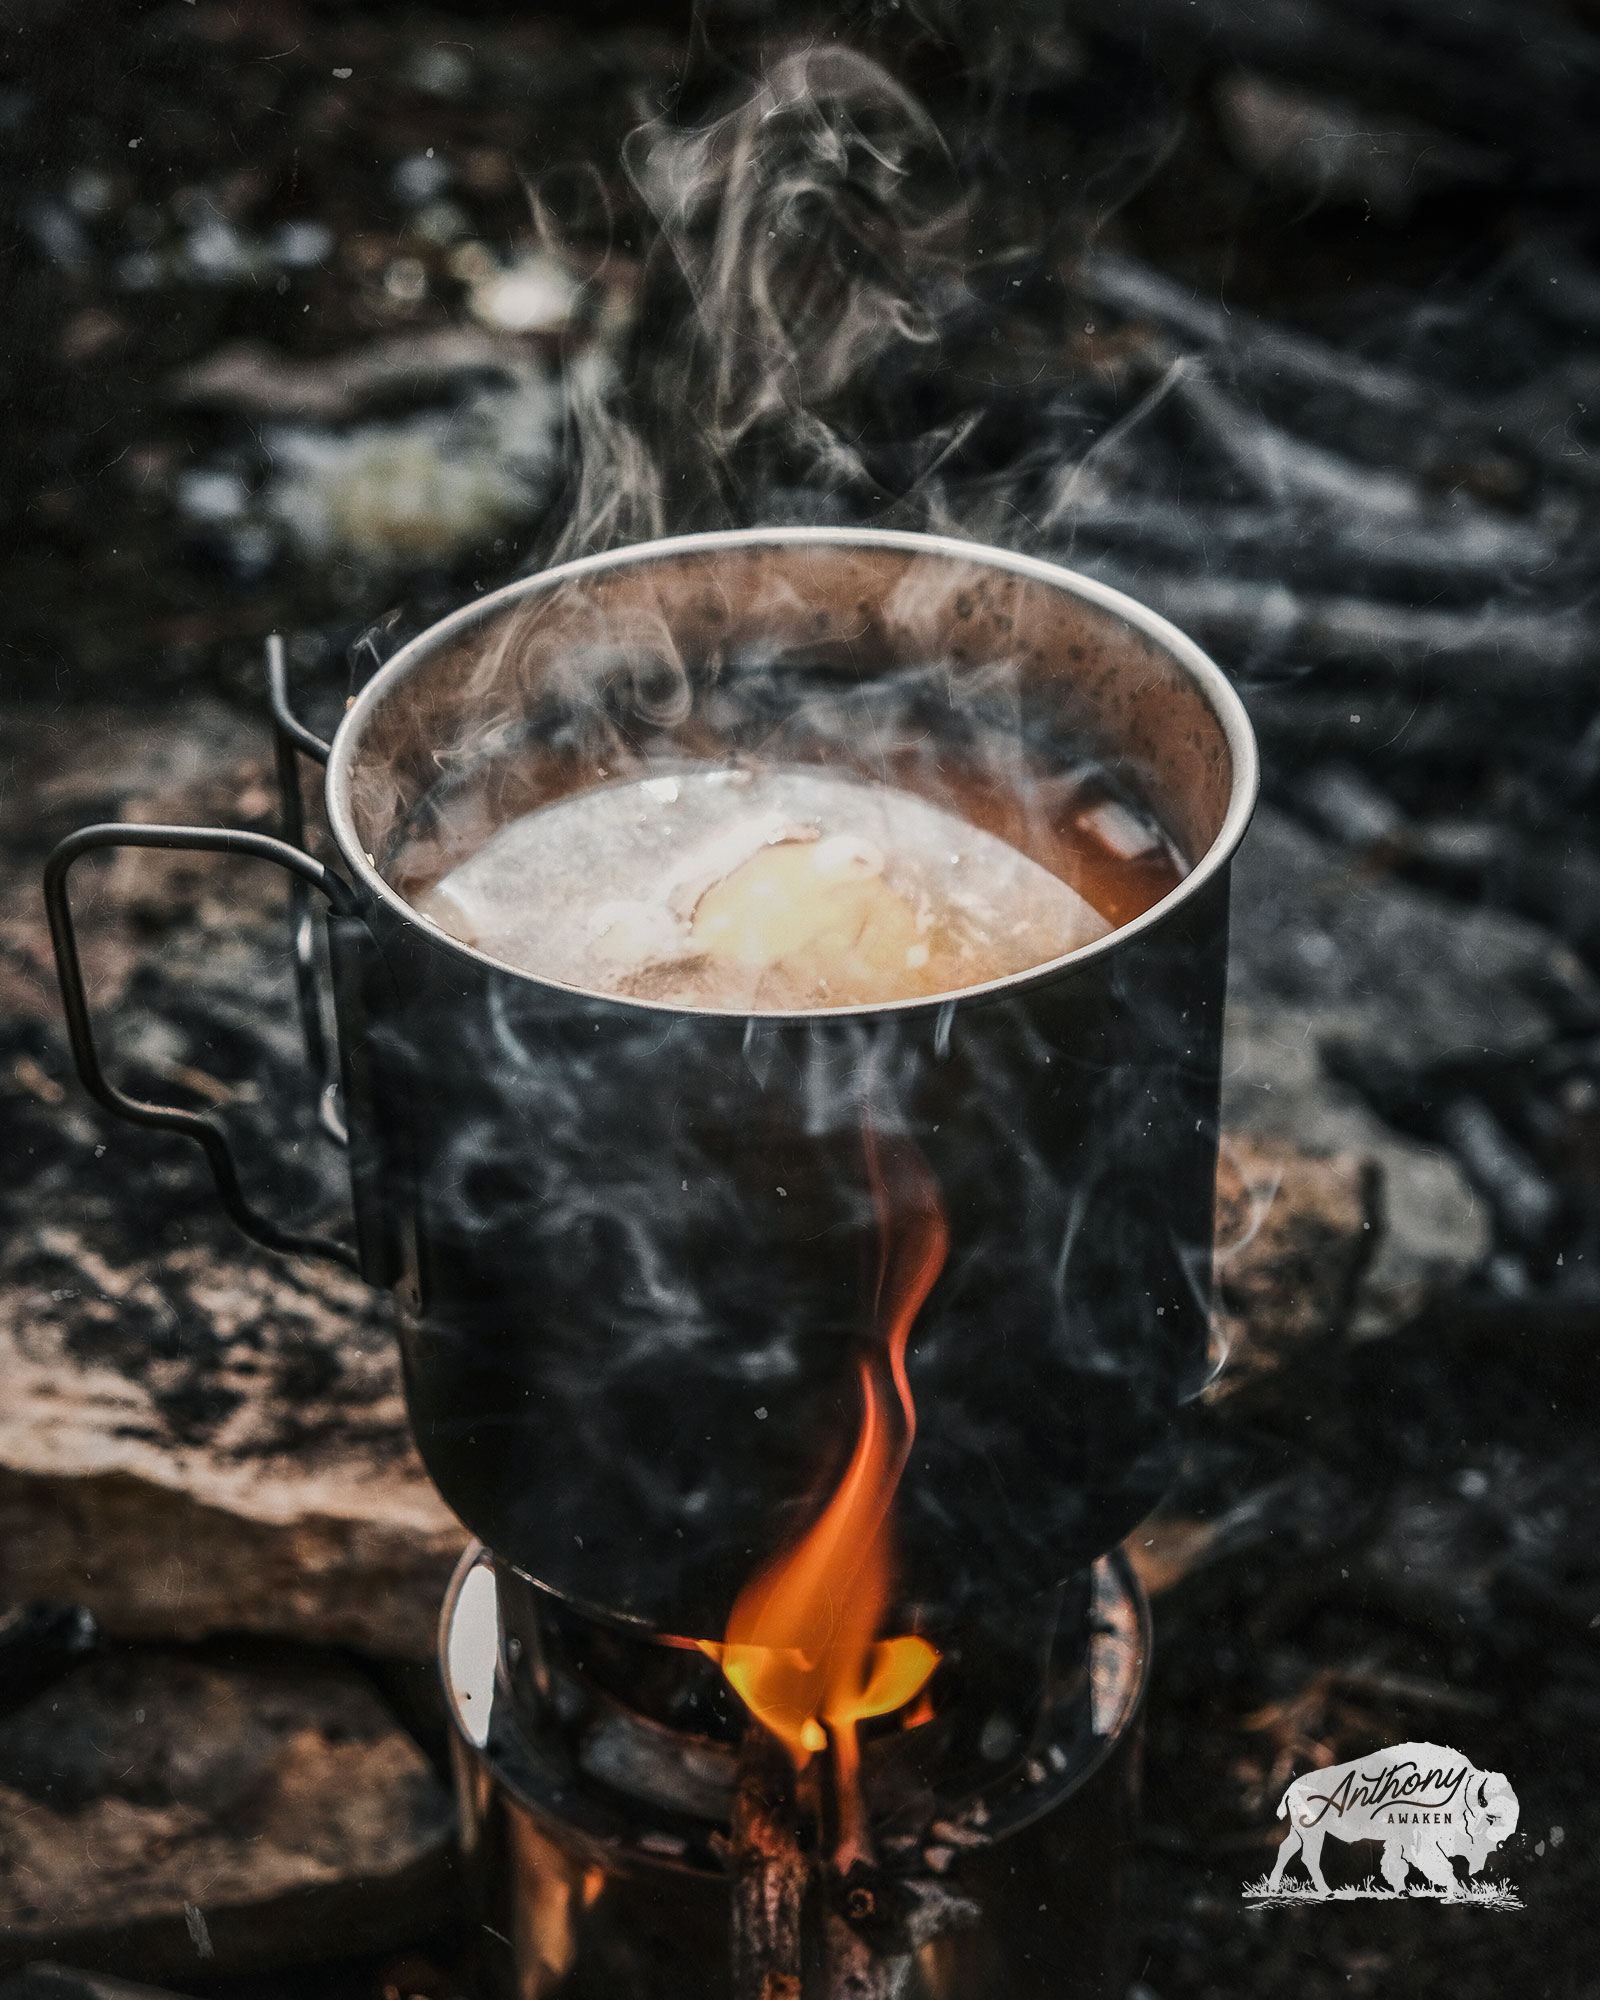
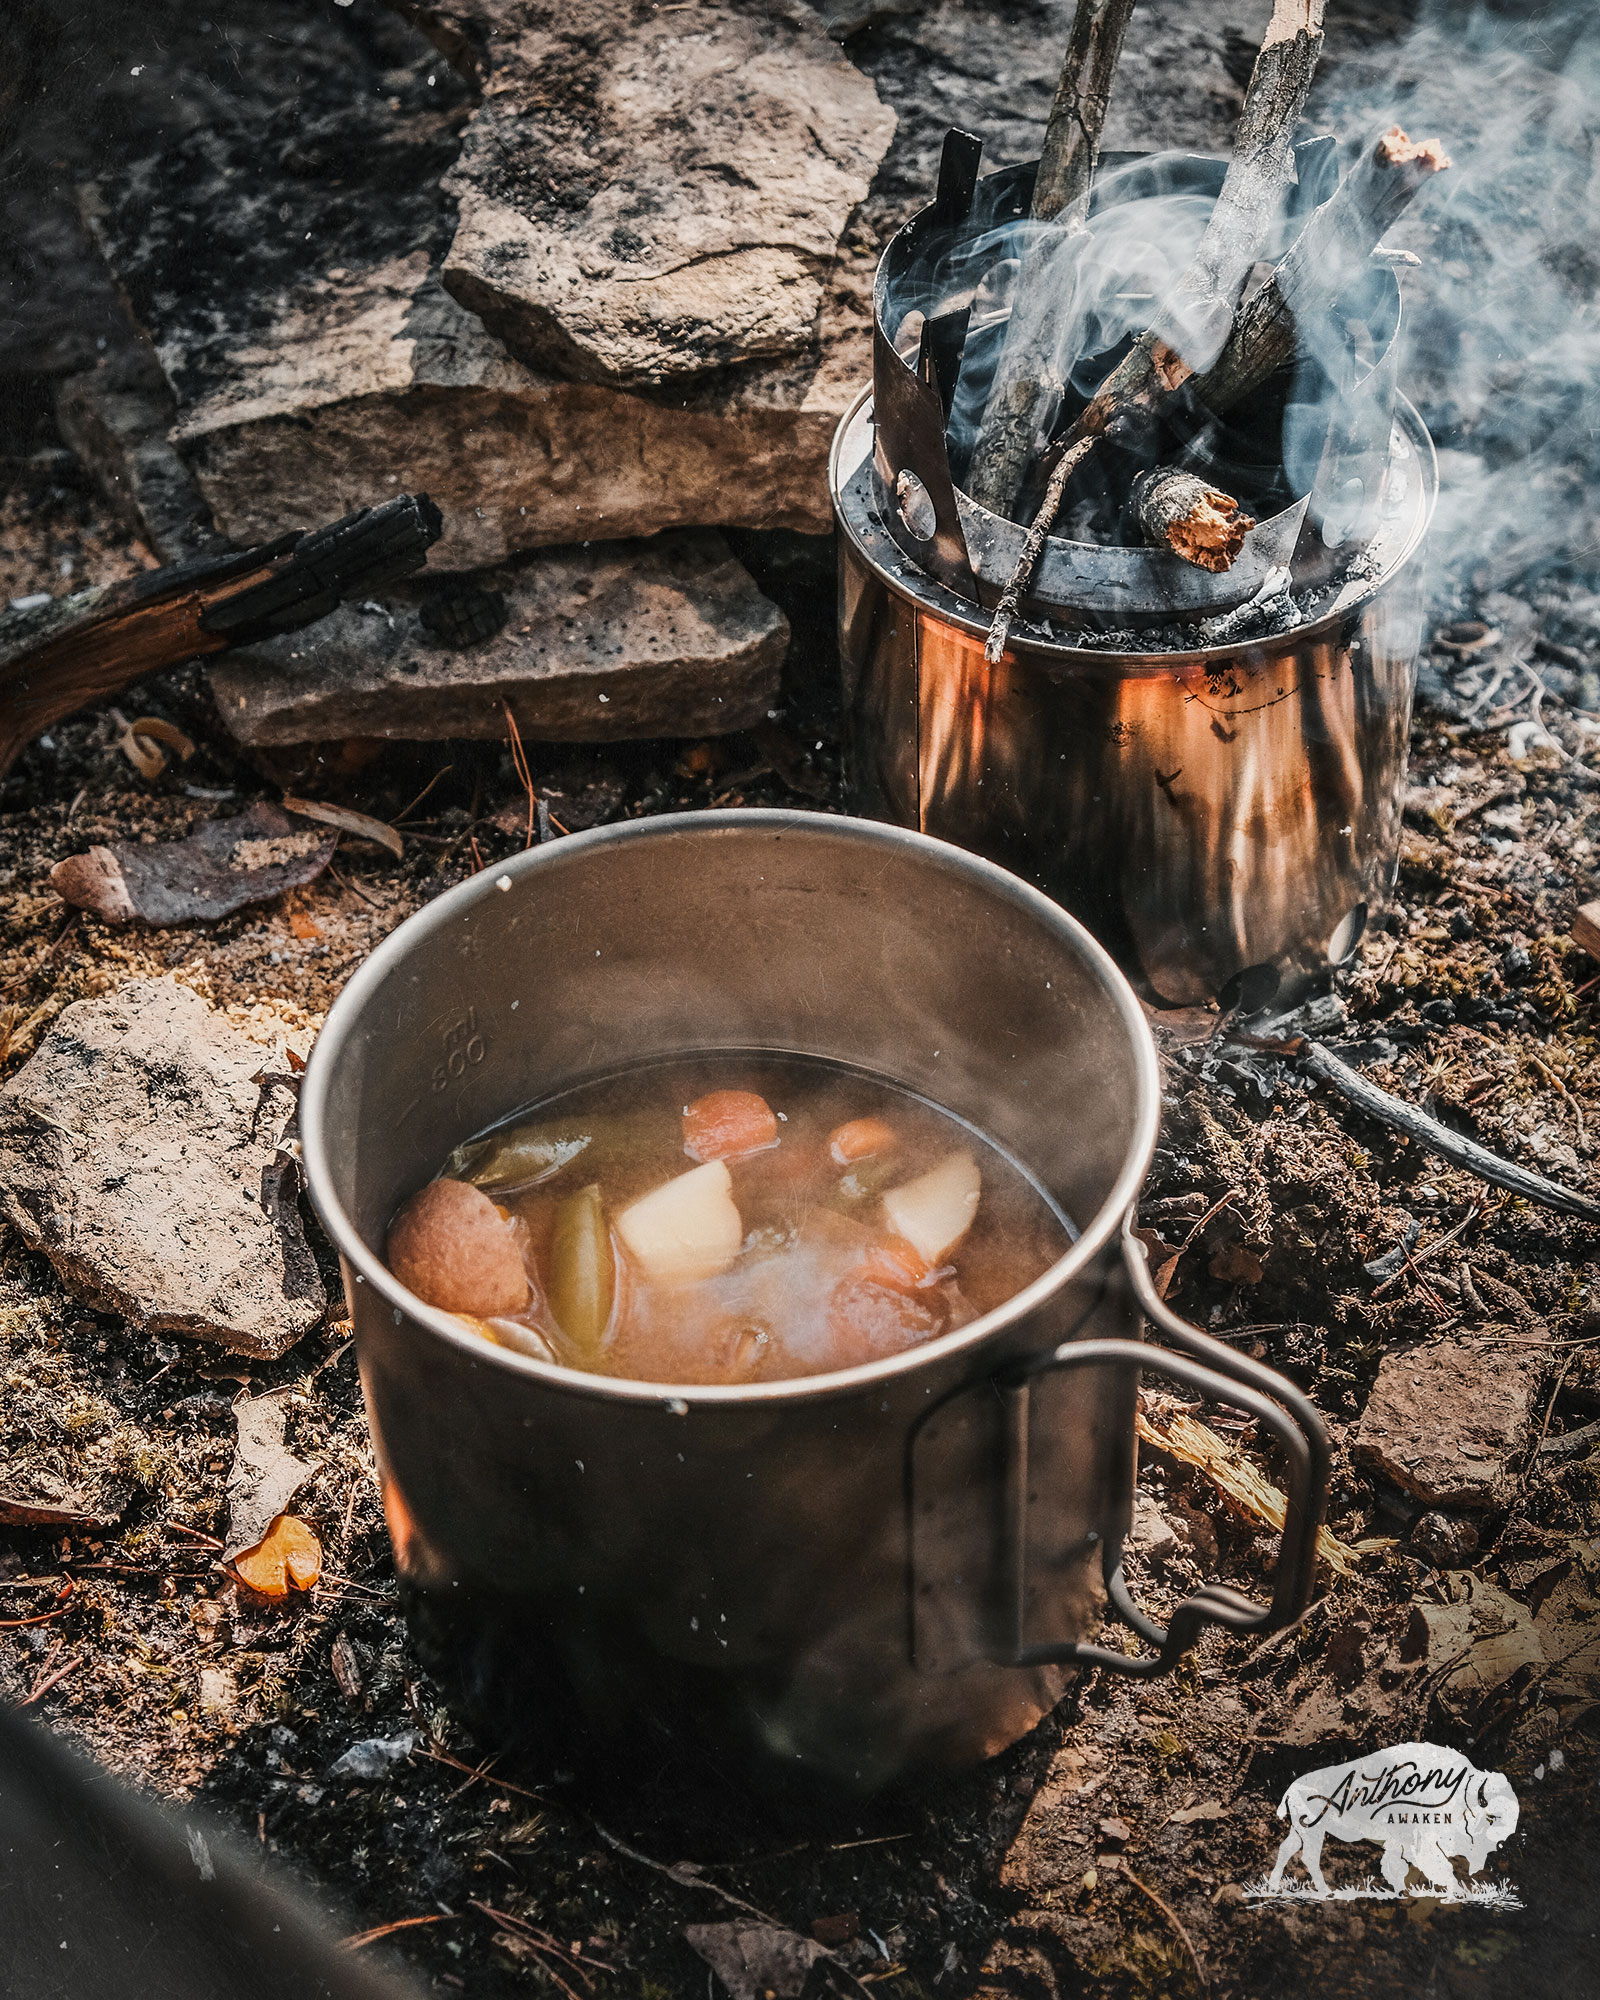
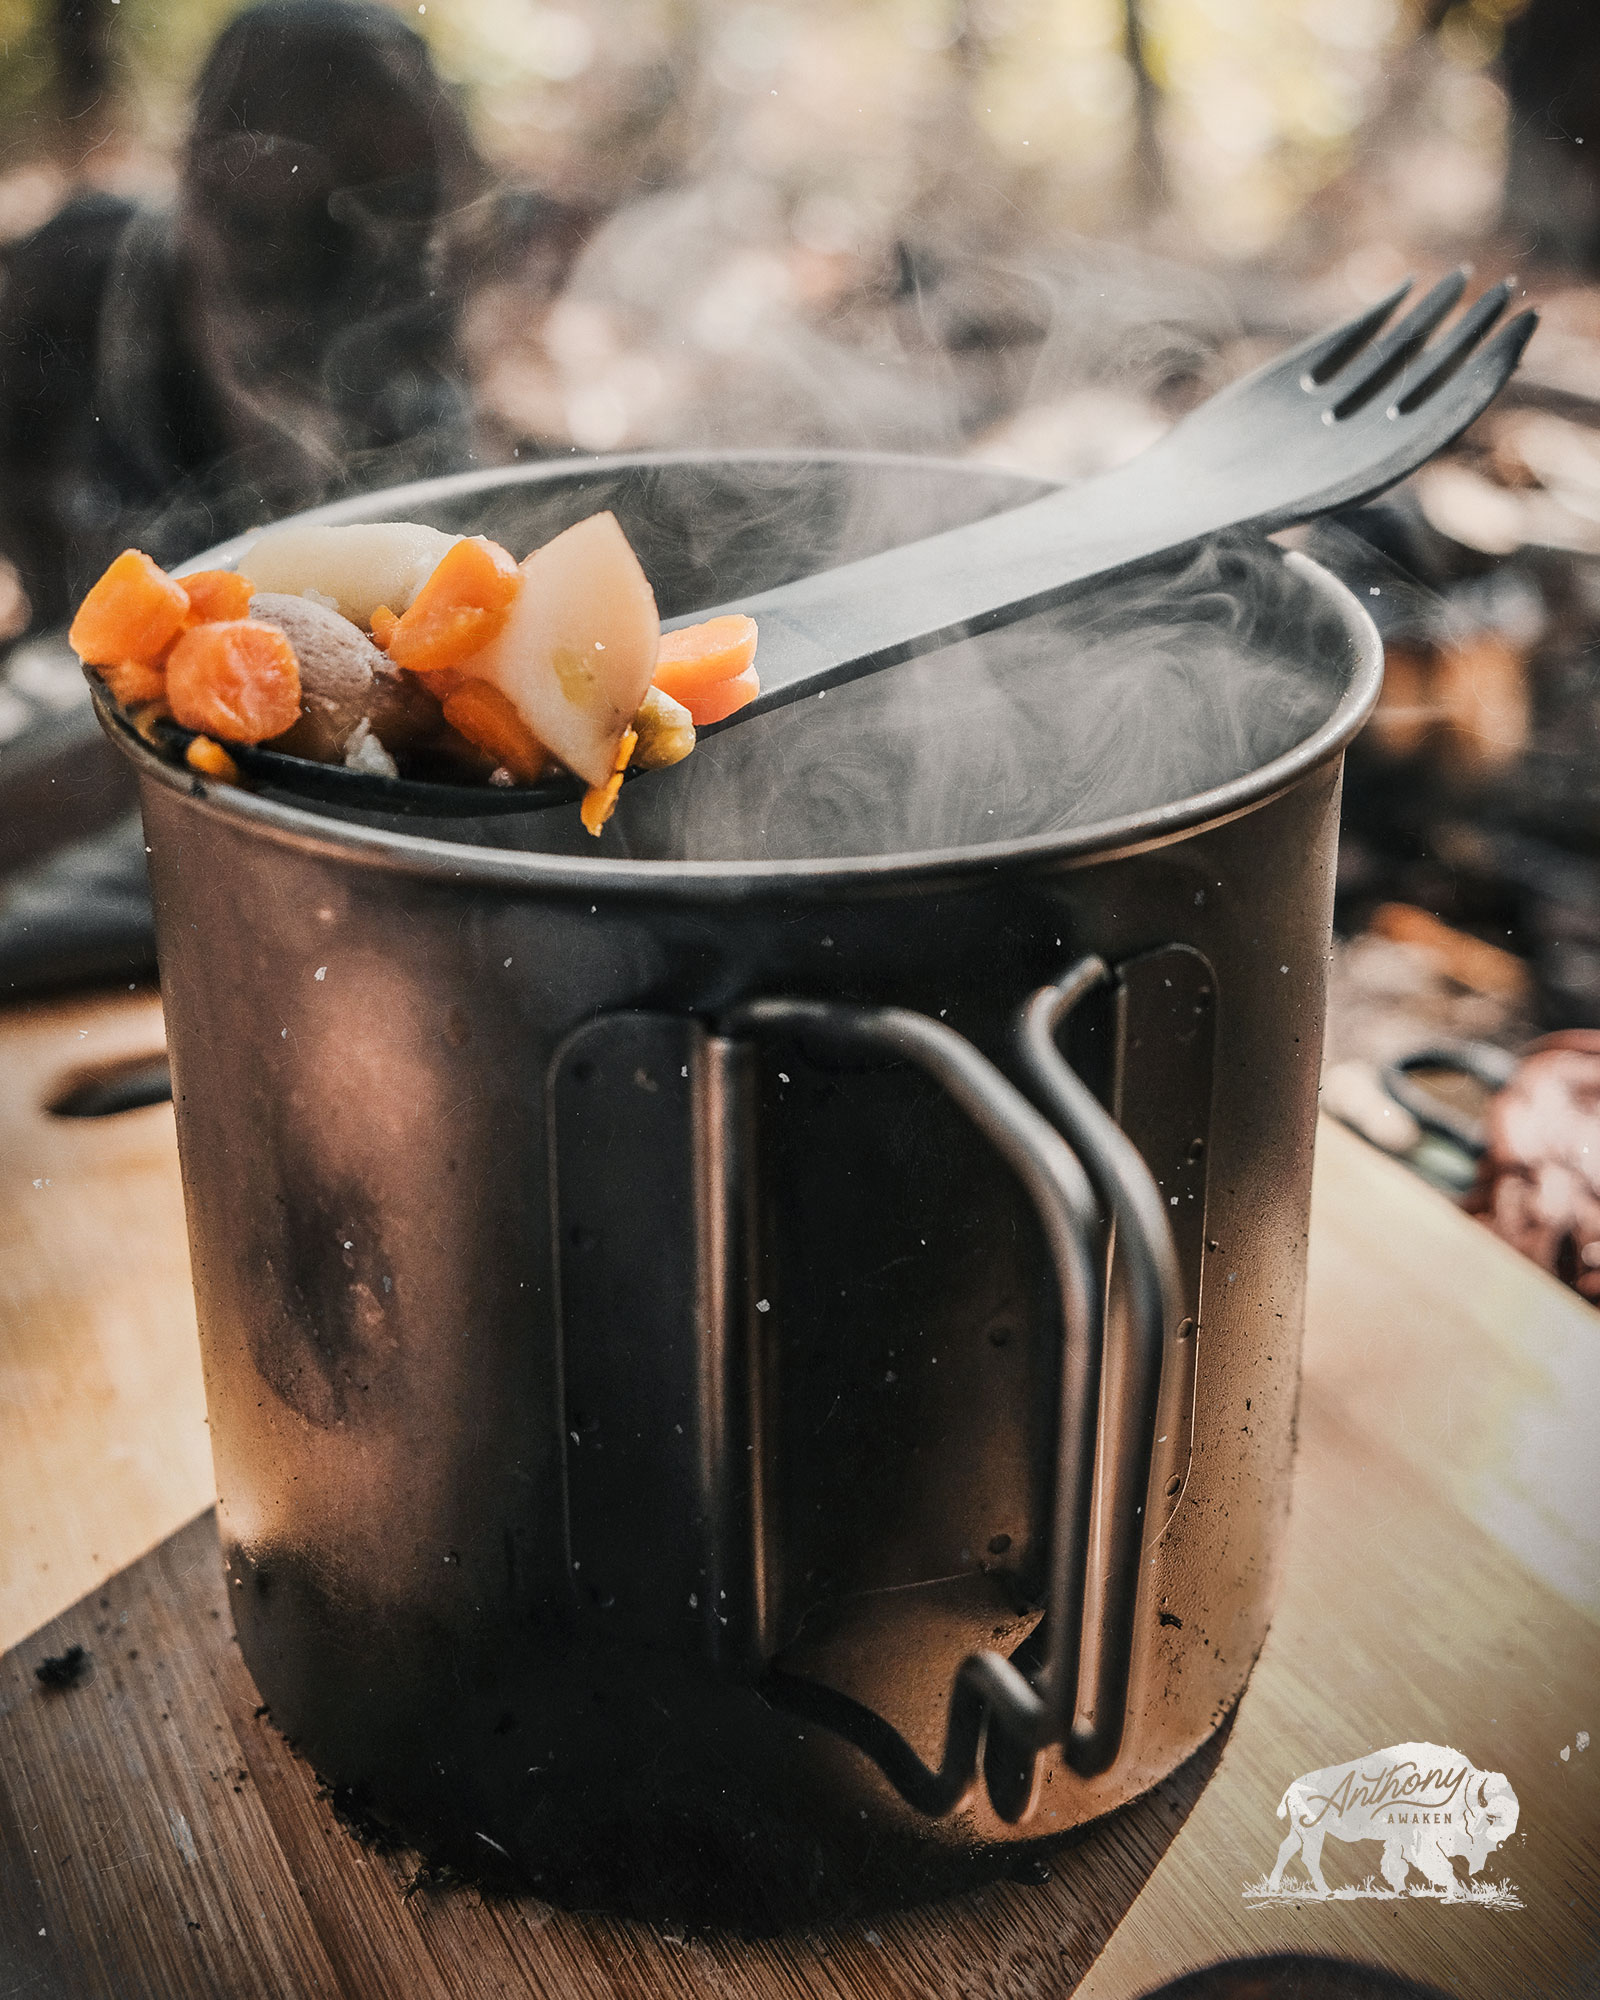
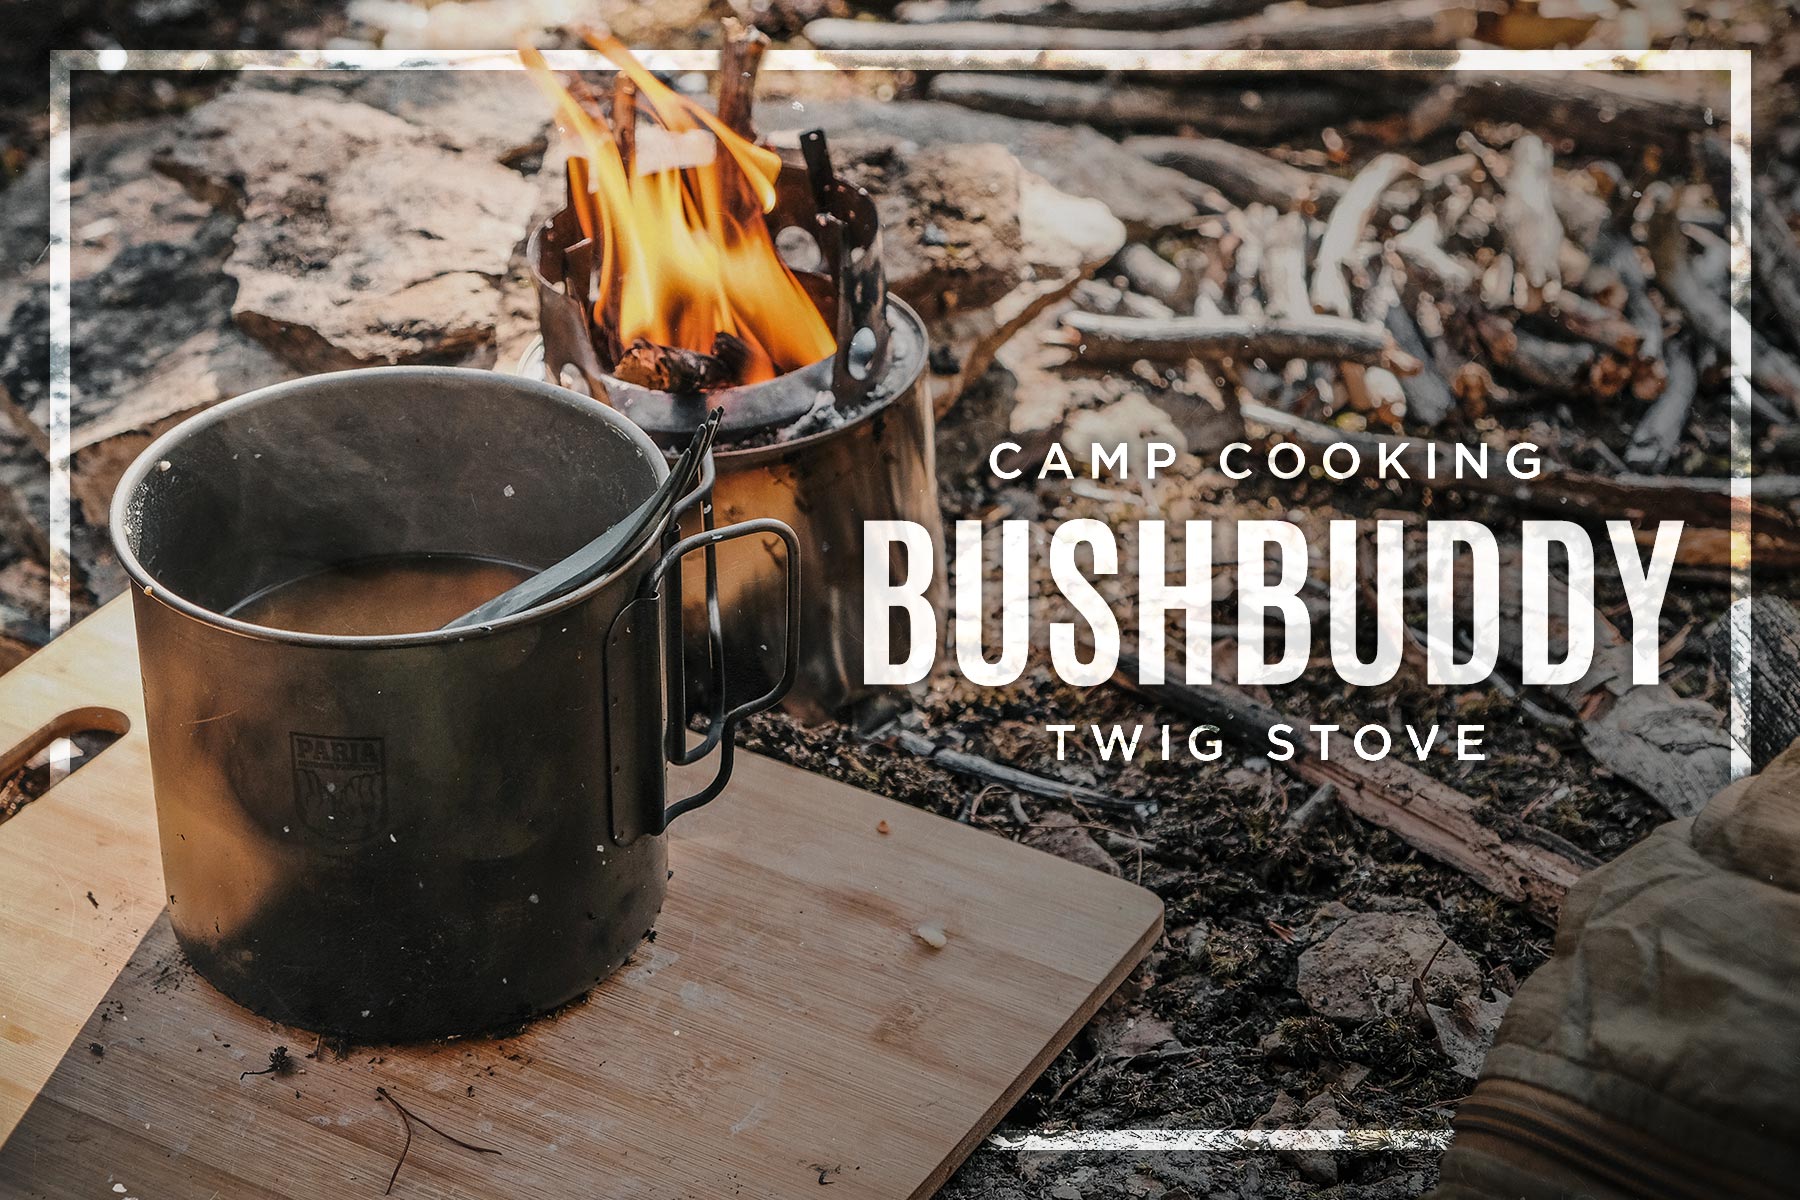
For this article, I will be using my much-loved Bushbuddy Twig Stove and Paria 1.1L Titanium Pot to prepare some of my favorite Campfire Vegetable Soup.
Campfire Vegetable Soup
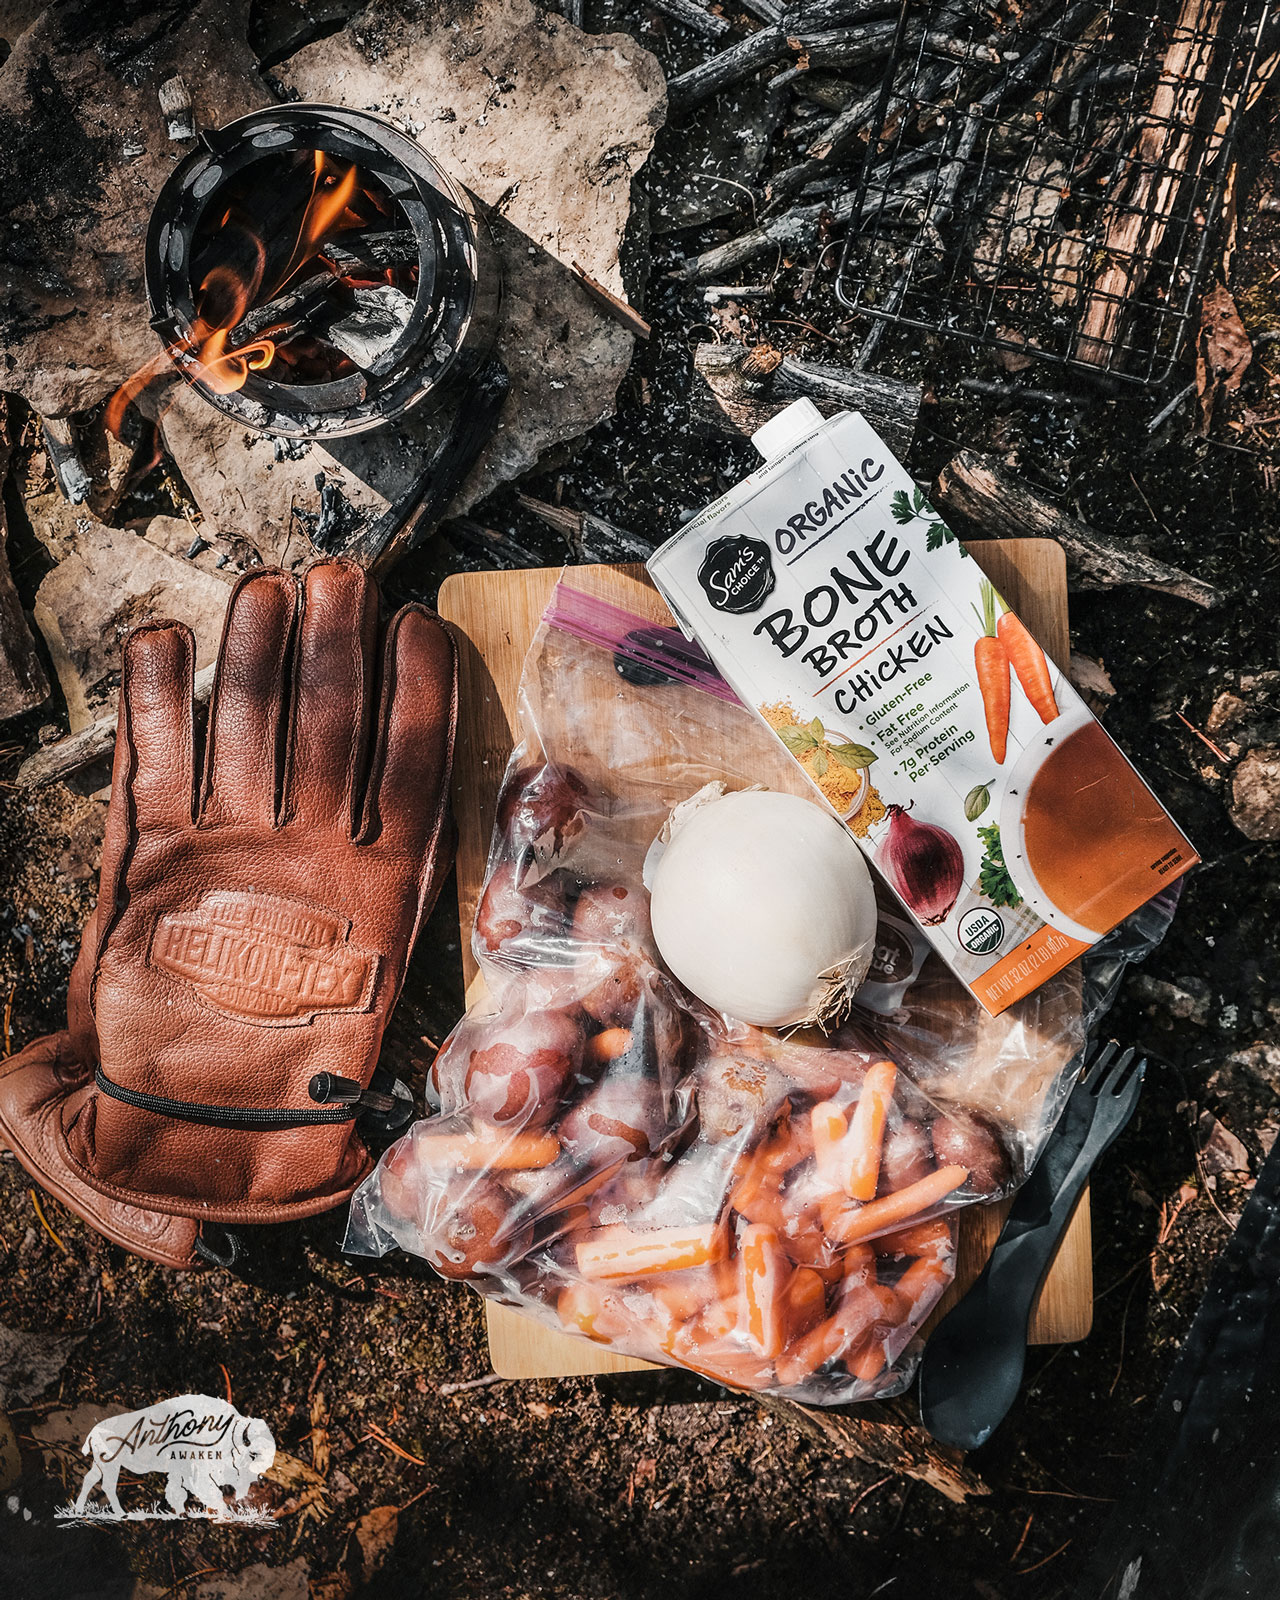
At the heart of any good campfire meal, you have good ingredients. You also have proper tools to use around your campfire kitchen. Here is a quick breakdown of everything I use:
- Campfire Vegetable Soup Recipe:
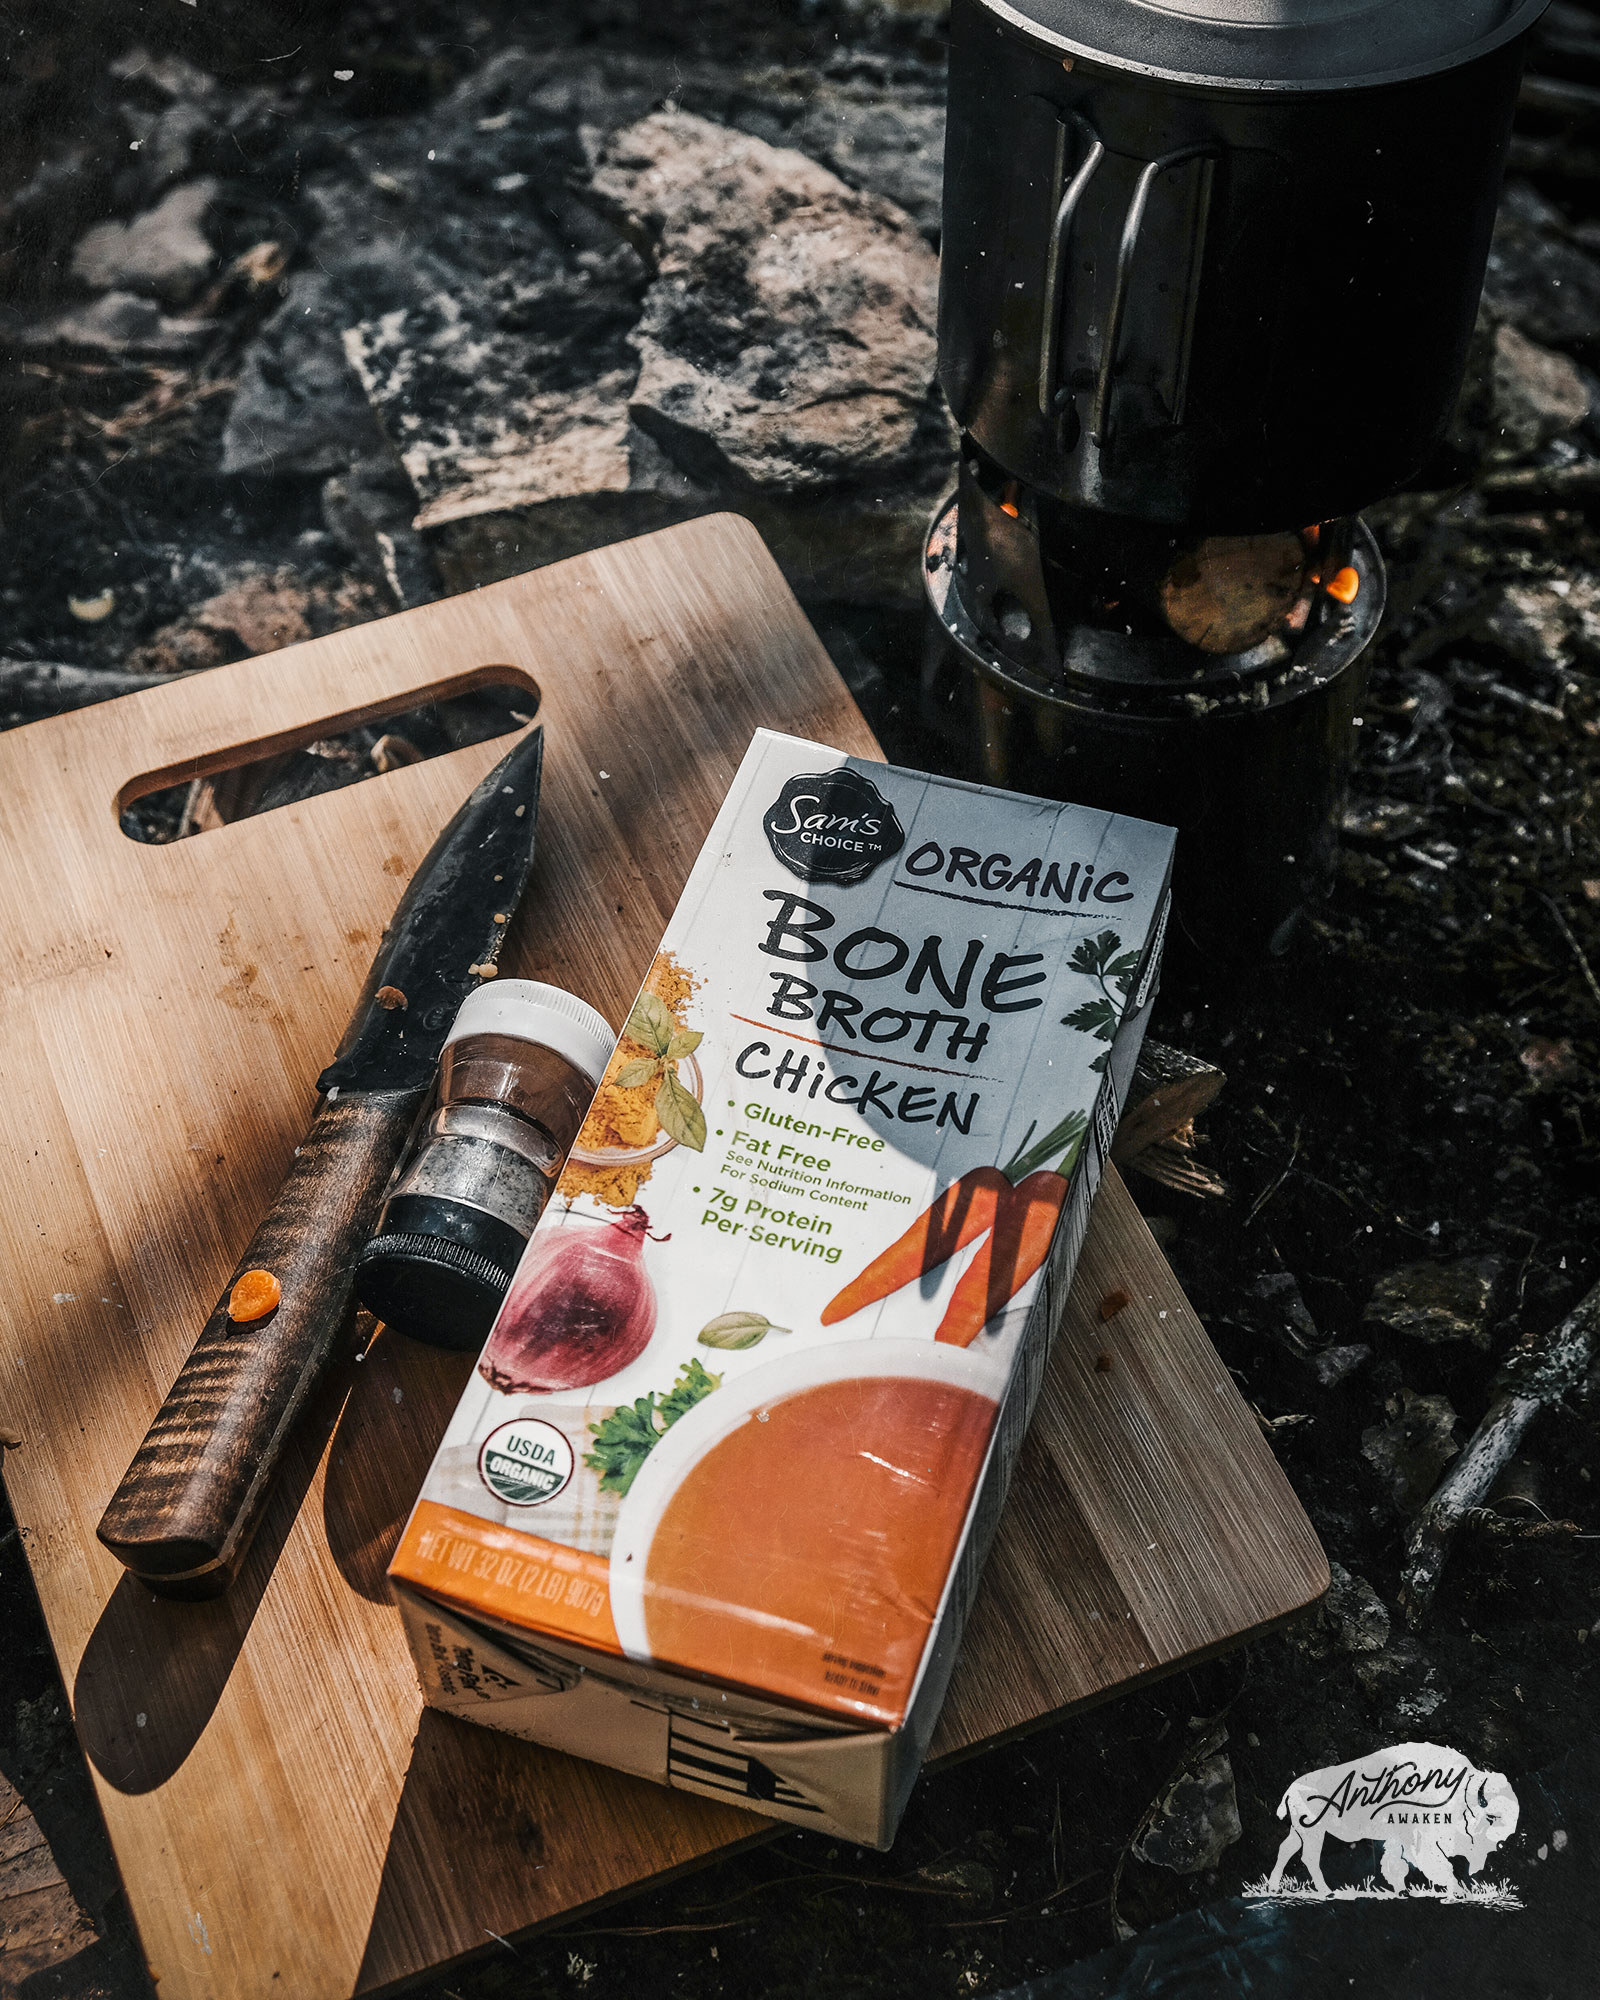
Small red potatoes, baby carrots, white onion, garlic, bone broth, green beans, salt + pepper. - Alterations to this recipe:
I typically alter this recipe to include diced chicken when the temperatures drop below 30º(f). At that point, I know the chicken will not spoil from heat. - Campfire Kitchen:
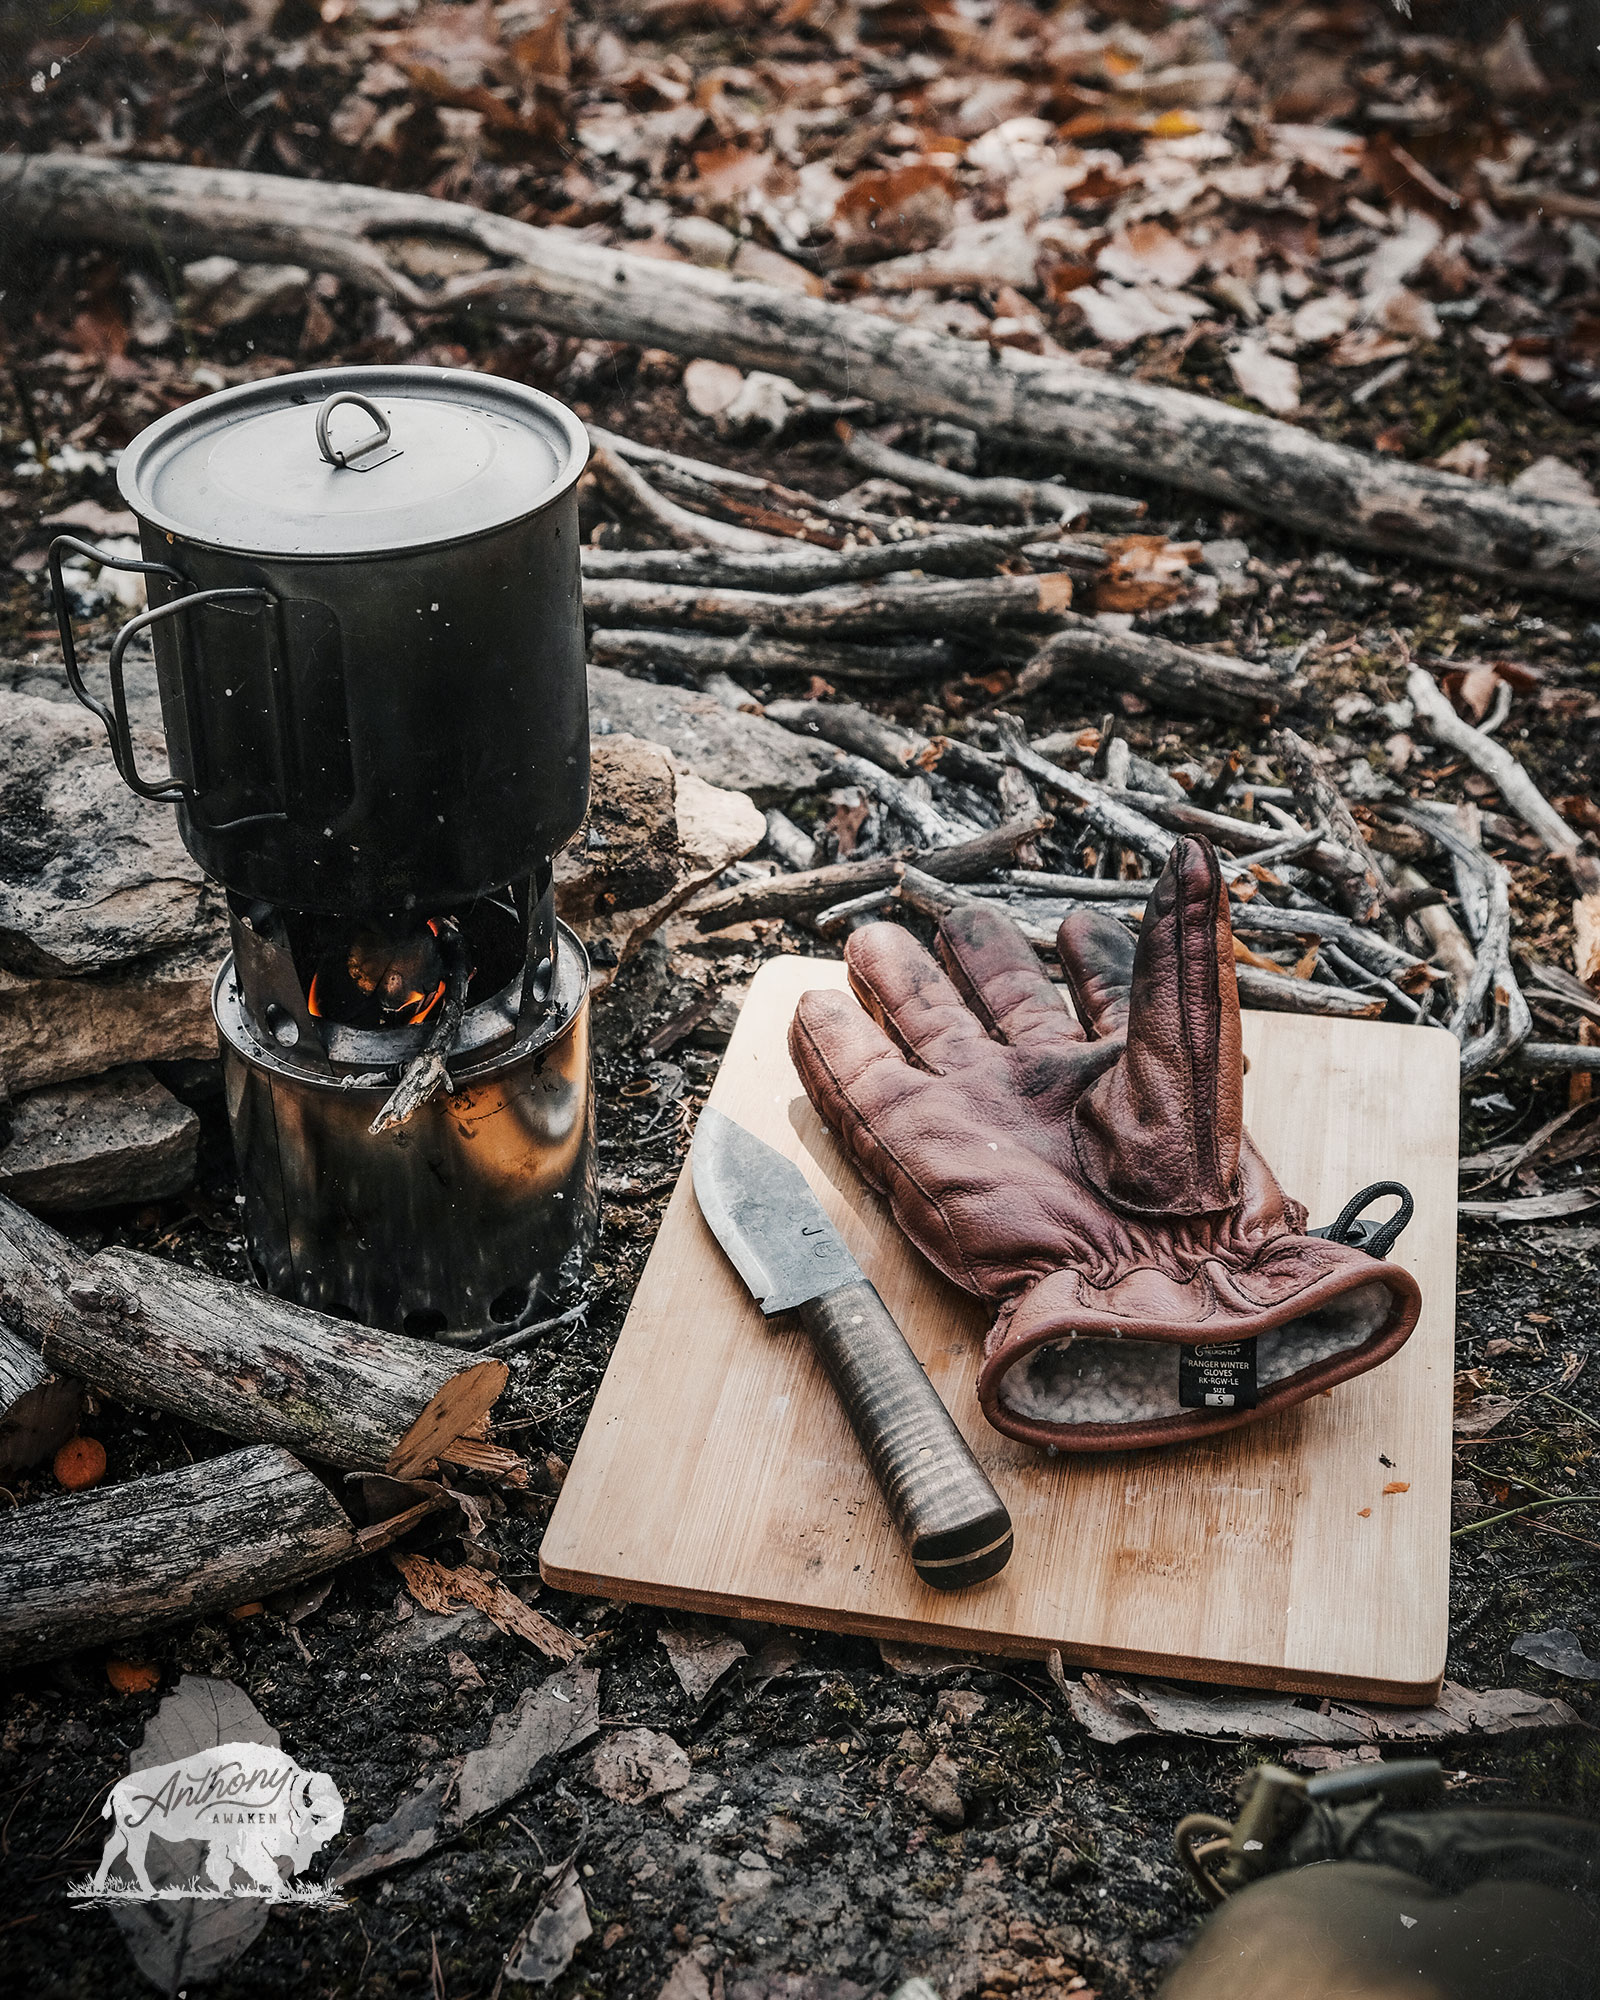
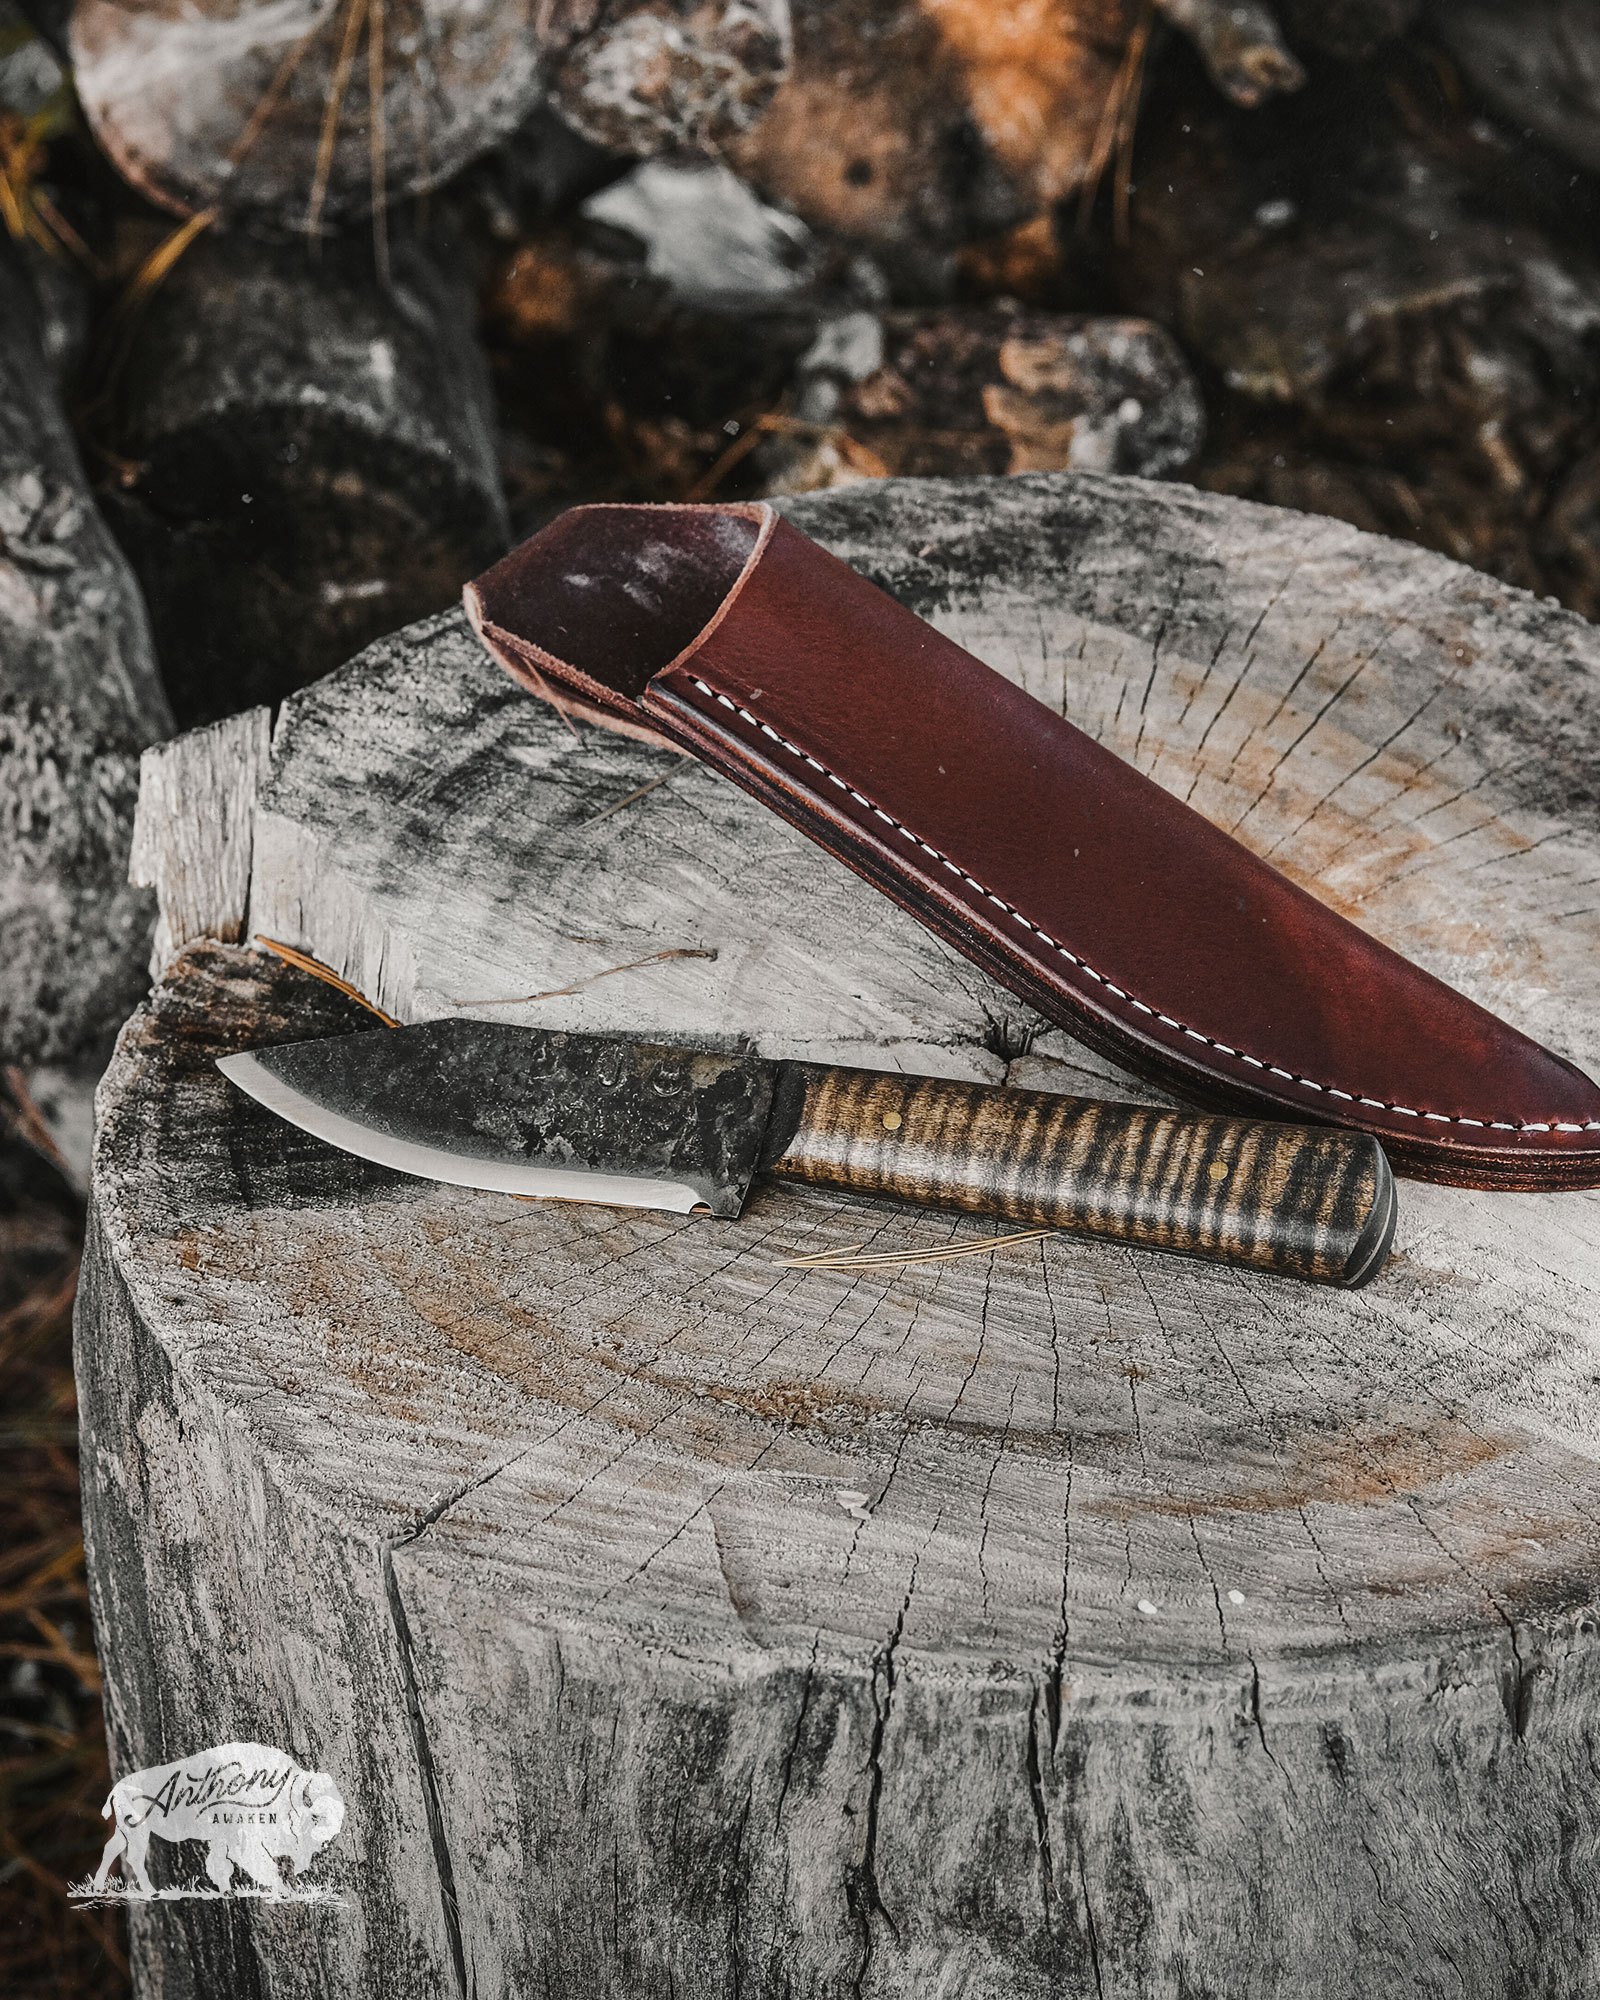
Bushbuddy Twig Stove, Paria 1.1L Titanium Pot, Spork, Bamboo Cutting Board, Leather Gloves, OWA Camp Knife, and Salt + Pepper Shaker.
If you’re just starting out with campfire cooking, simply pick up a good cooking pot (I highly recommend the Paria 1.1L) and practice cooking over open flame. There is no reason to feel like you have to have everything on my list from the get-go.
However, if you have the budget and love gear options like I do, I highly recommend the Bushbuddy Twig Stove. And, with that said, cooking on this particular twig stove is what I’ll focus on for the rest of this article.
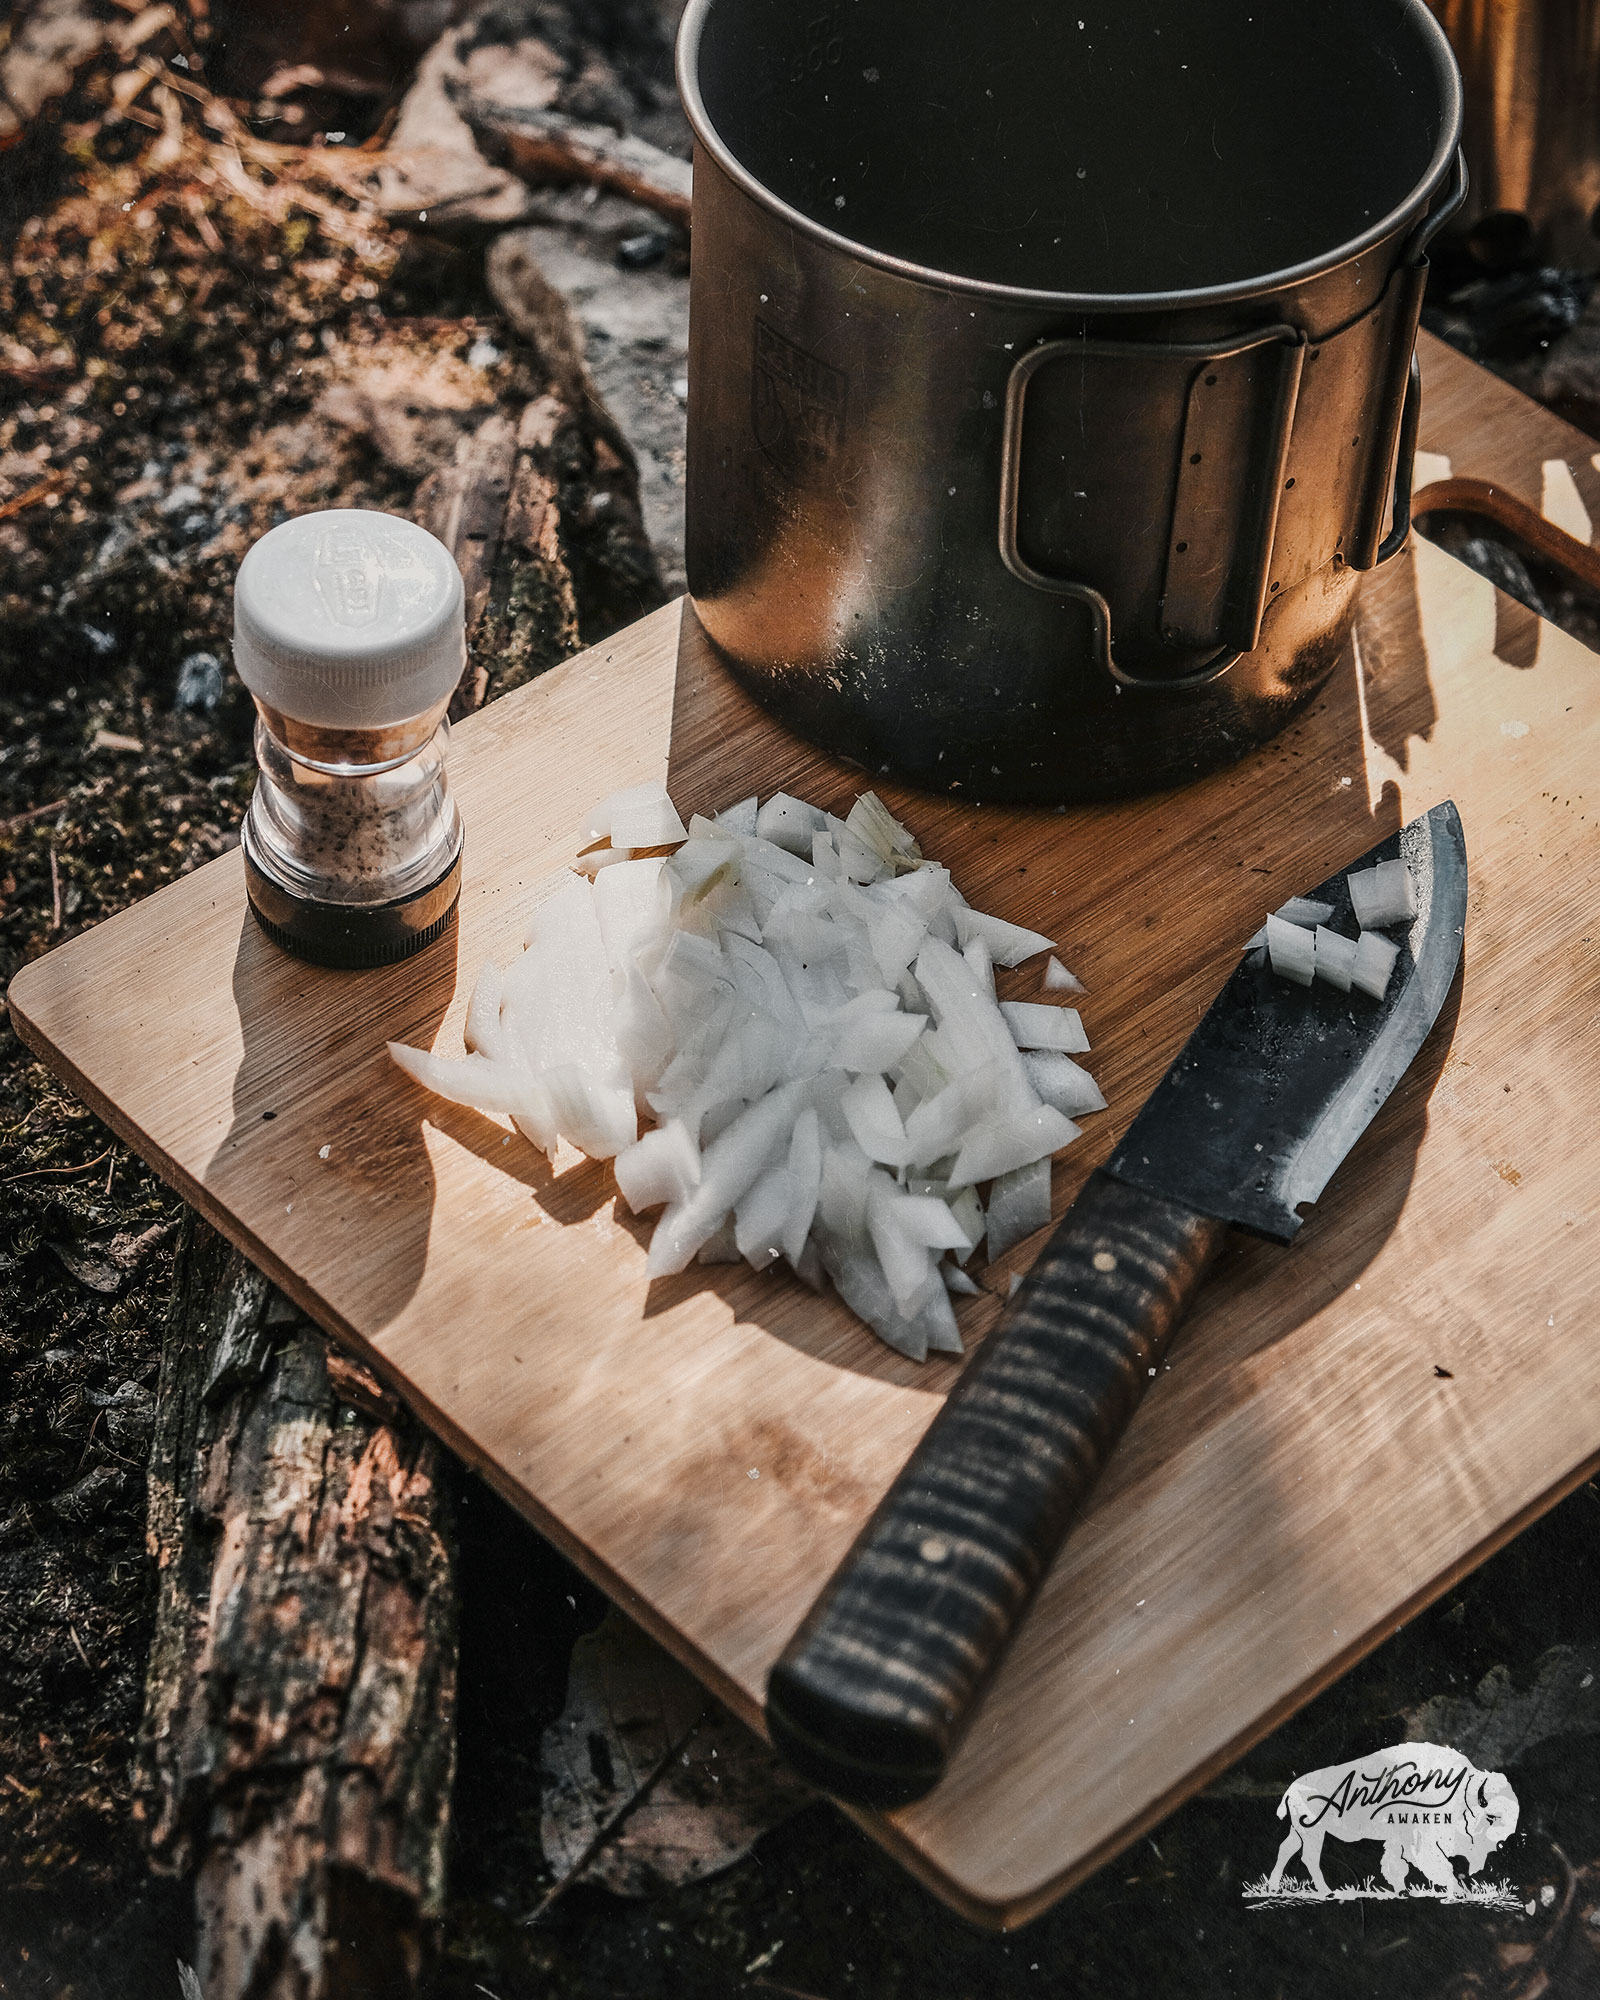
Gear Above: Paria 1.1L Titanium Pot, Old World Alliance Camp Knife, GSI Salt + Pepper Shaker, Bamboo Cutting Board
Preparing your Ingredients
One of the hardest things to find in the backcountry is a clean, flat surface for food preparation. So, I recently added a small bamboo cutting board to my pack. This cutting board has been invaluable for chopping up onions, dicing potatoes, and slicing carrots. I’ve even used it as a stable surface to write in my outdoor journal.
Campfire Cooking Tip: While you’re preparing your ingredients, go ahead and get a coal base formed in your twig stove (or campfire). This will kill two birds with one stone & make the most of your time.
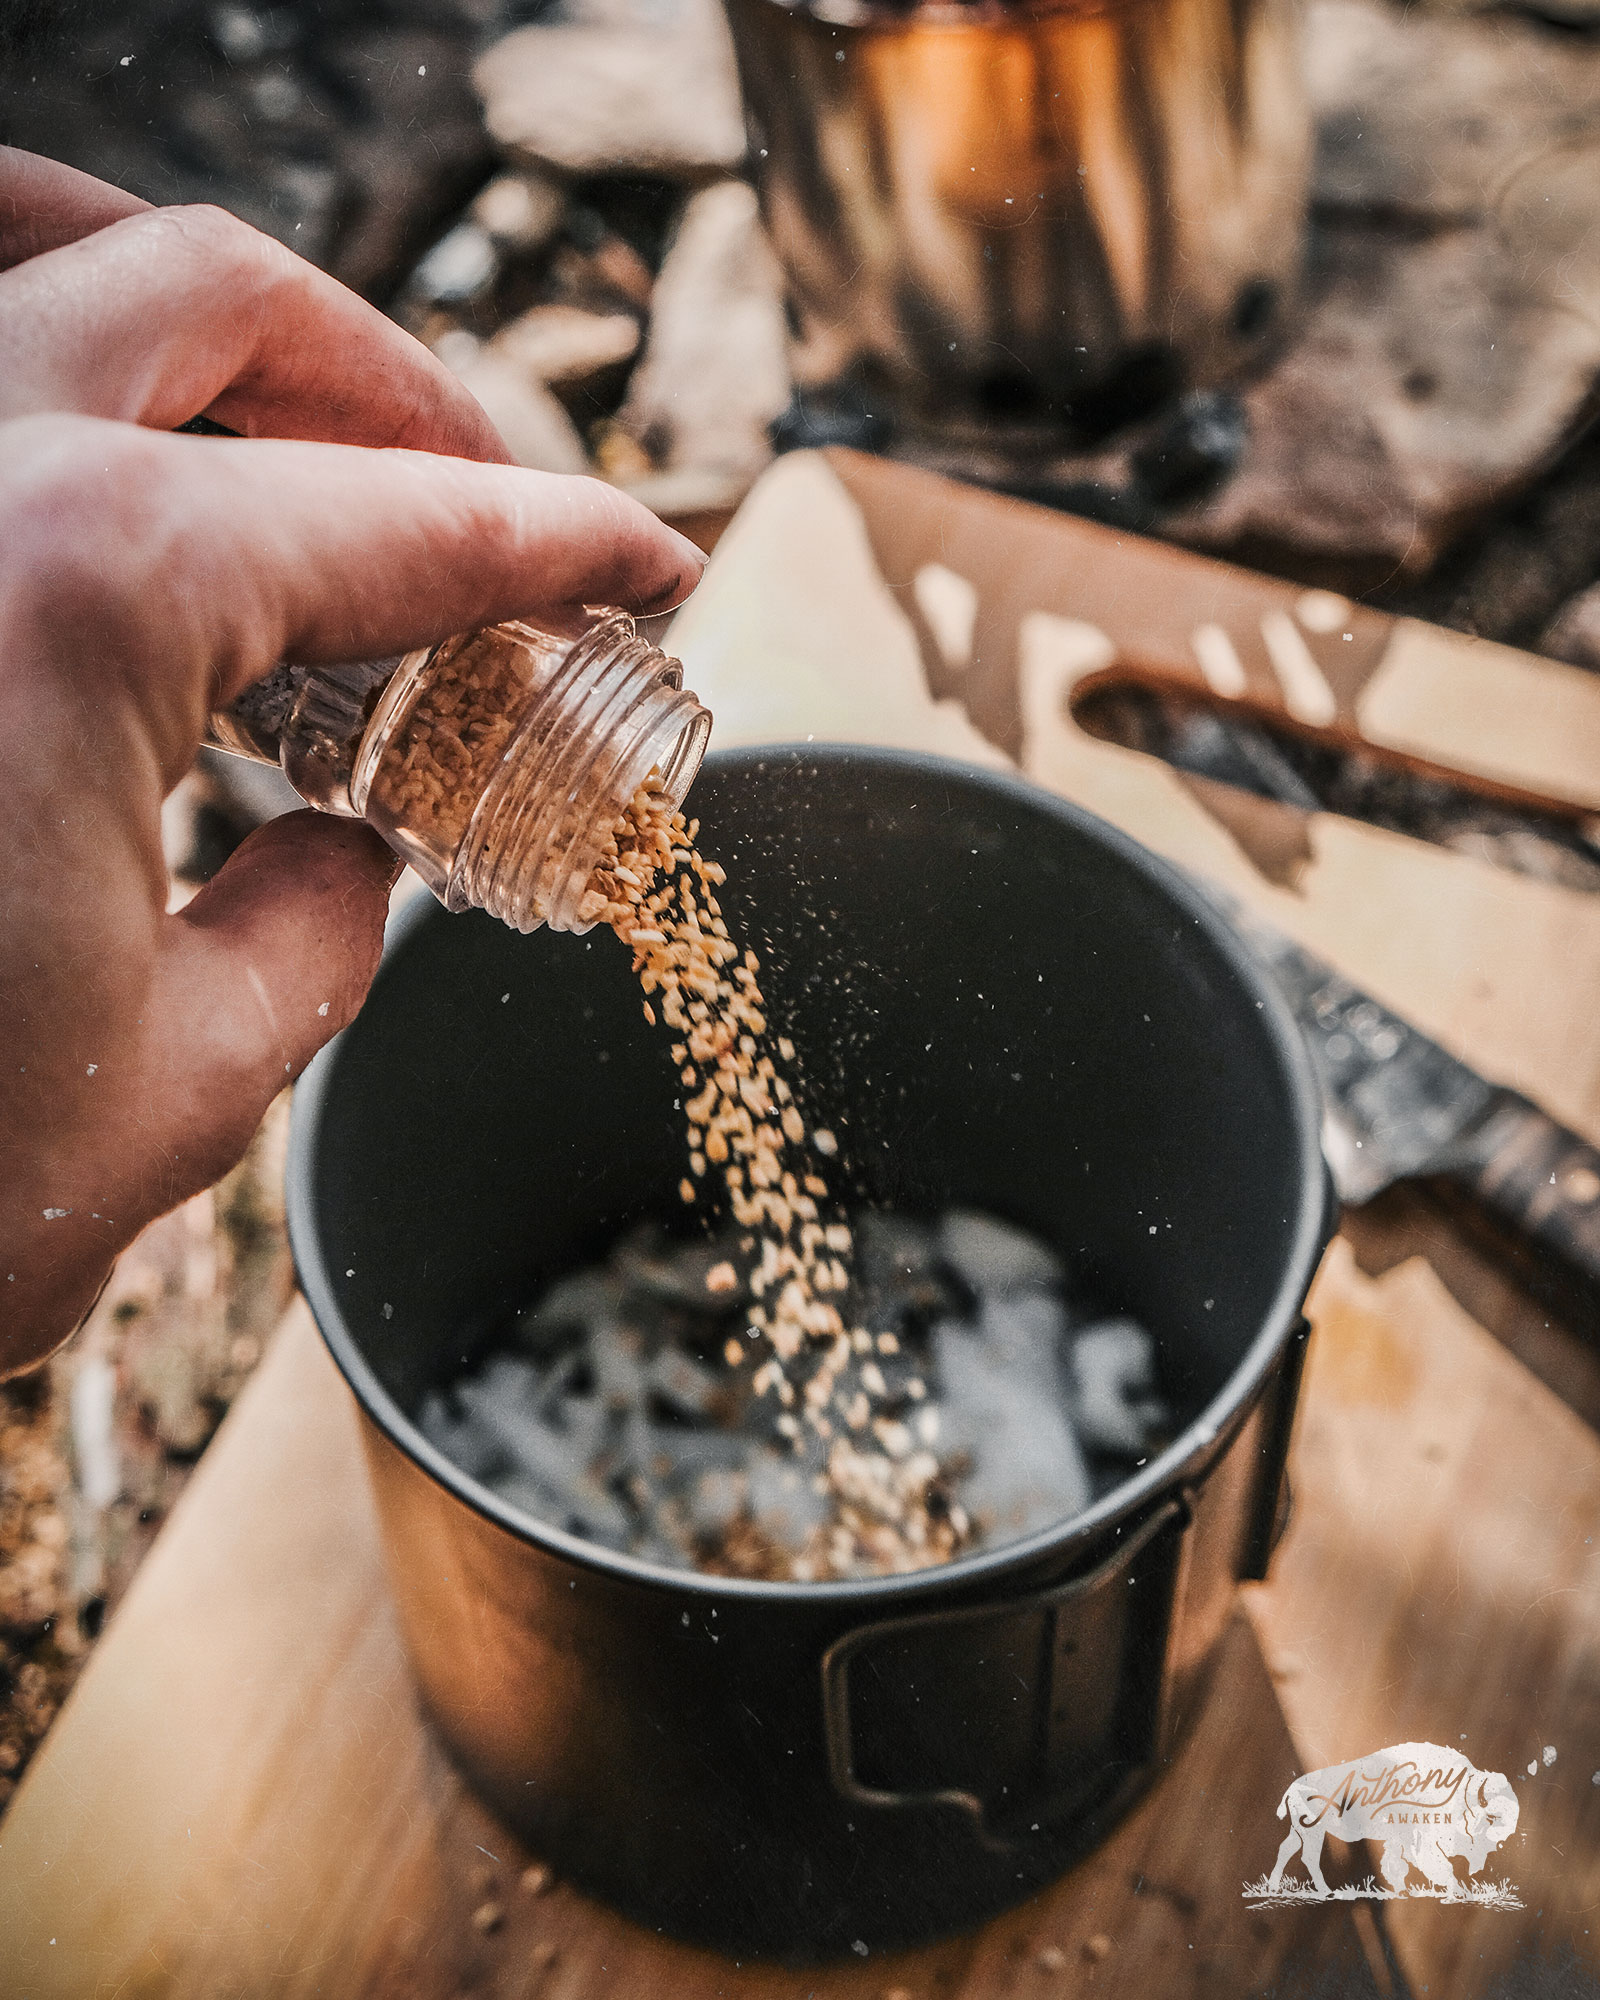
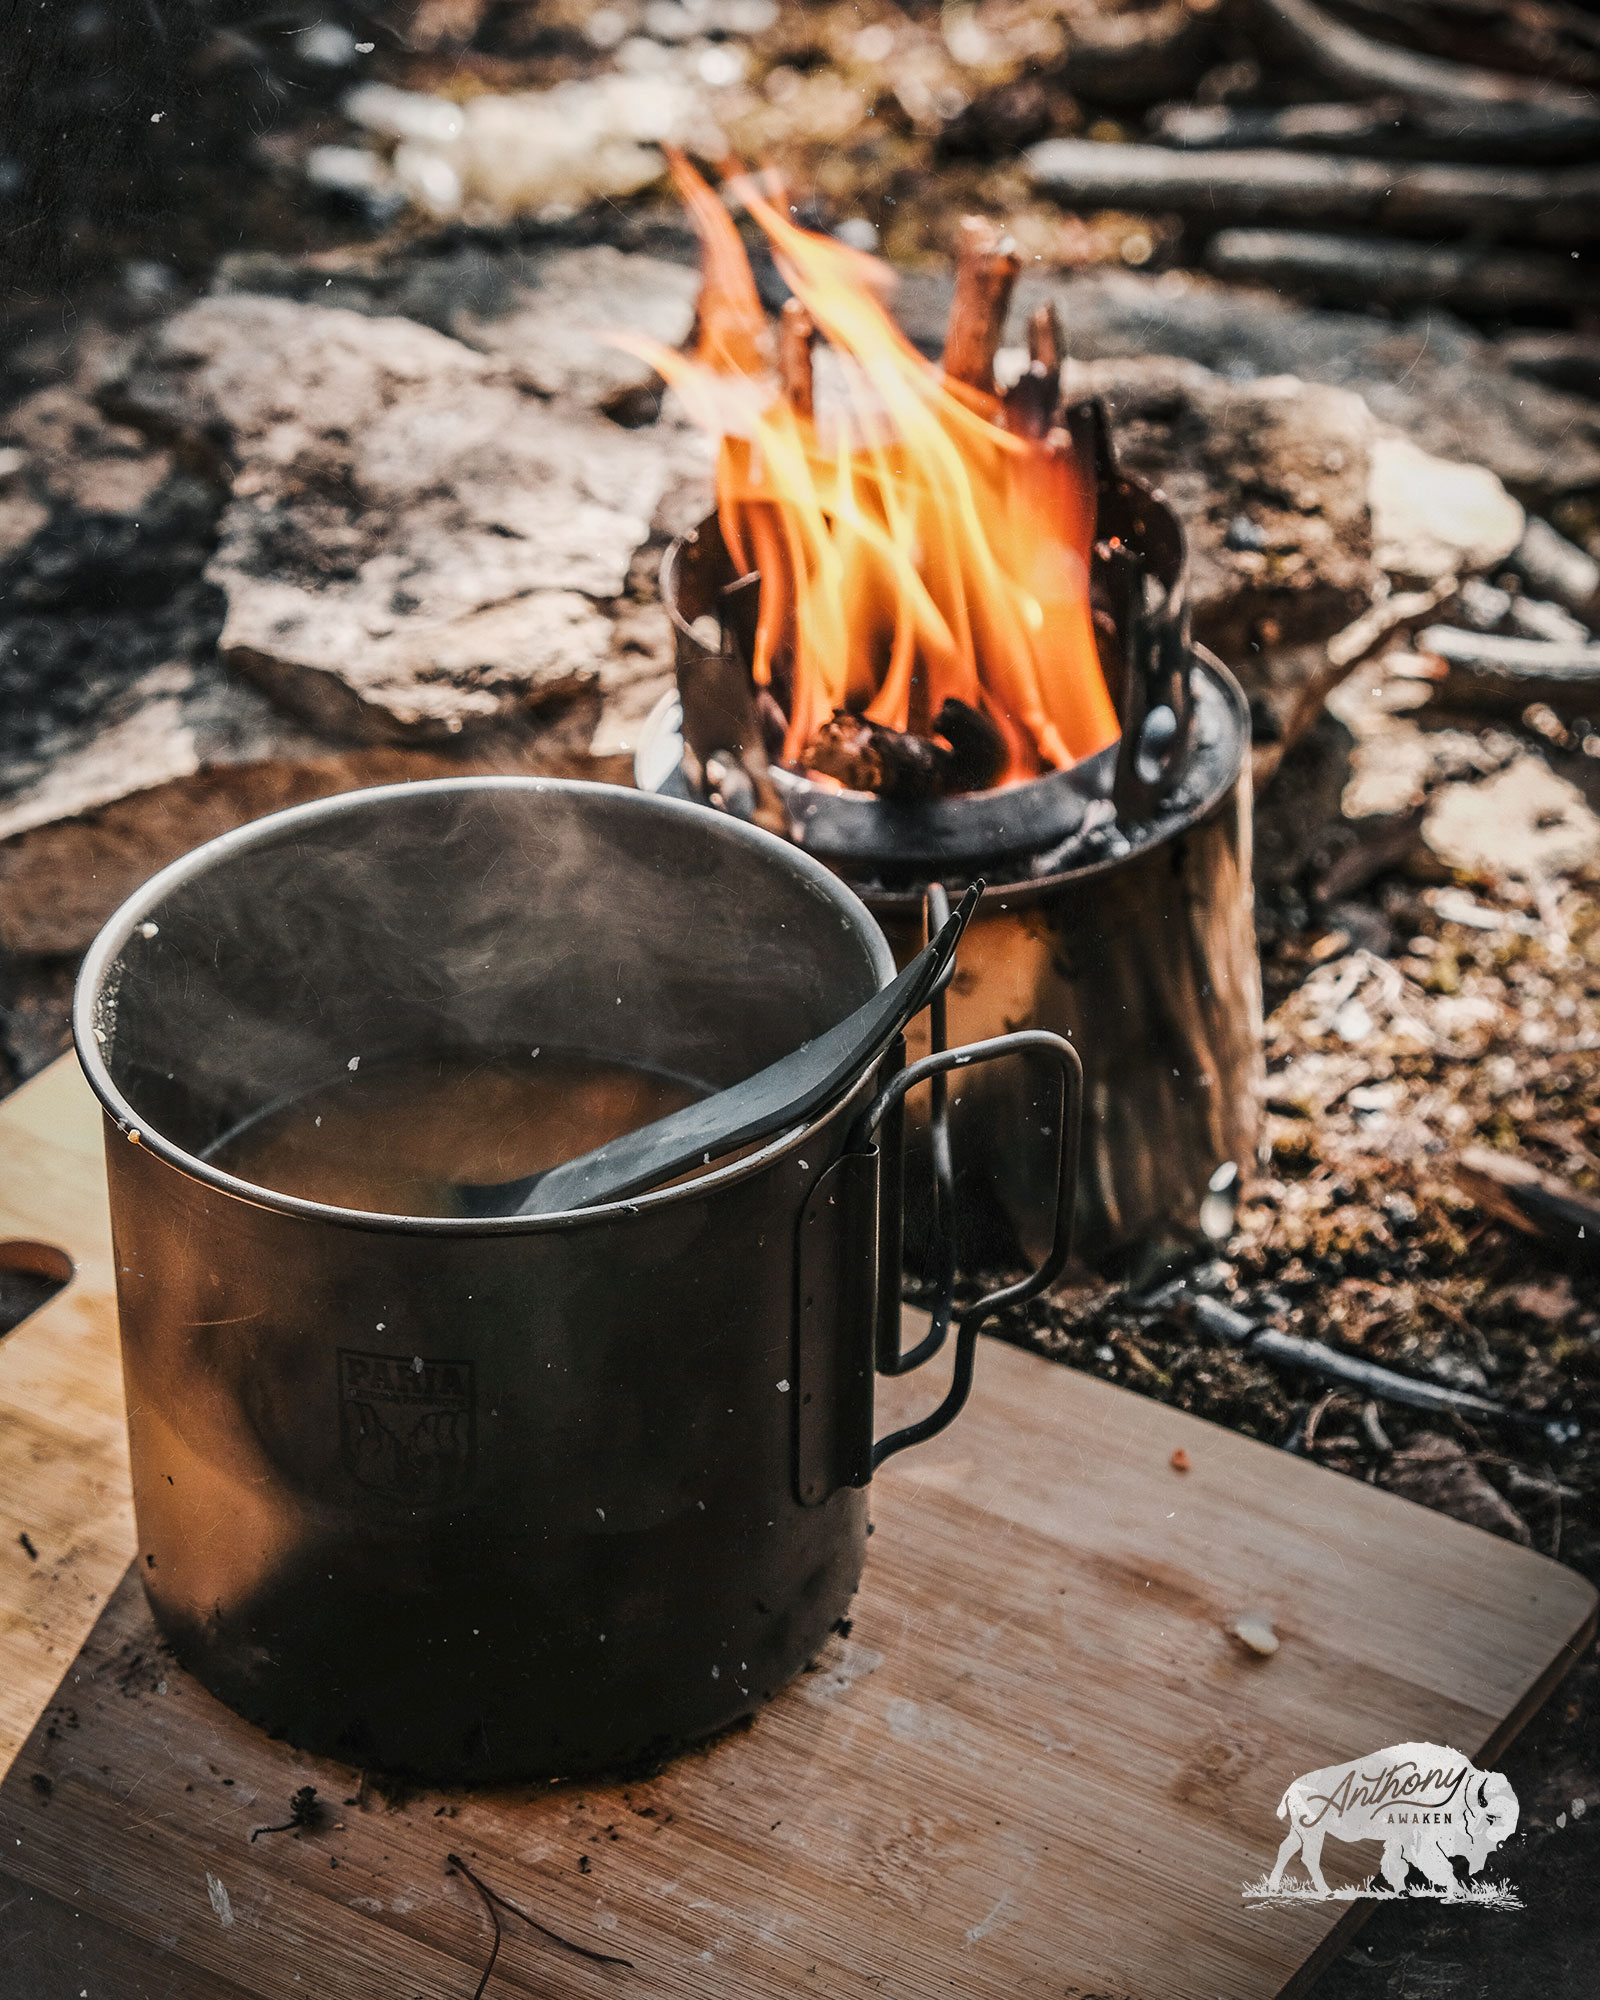
Gear Above: GSI Salt + Pepper Shaker and Paria 1.1L Titanium Pot
Getting things Started
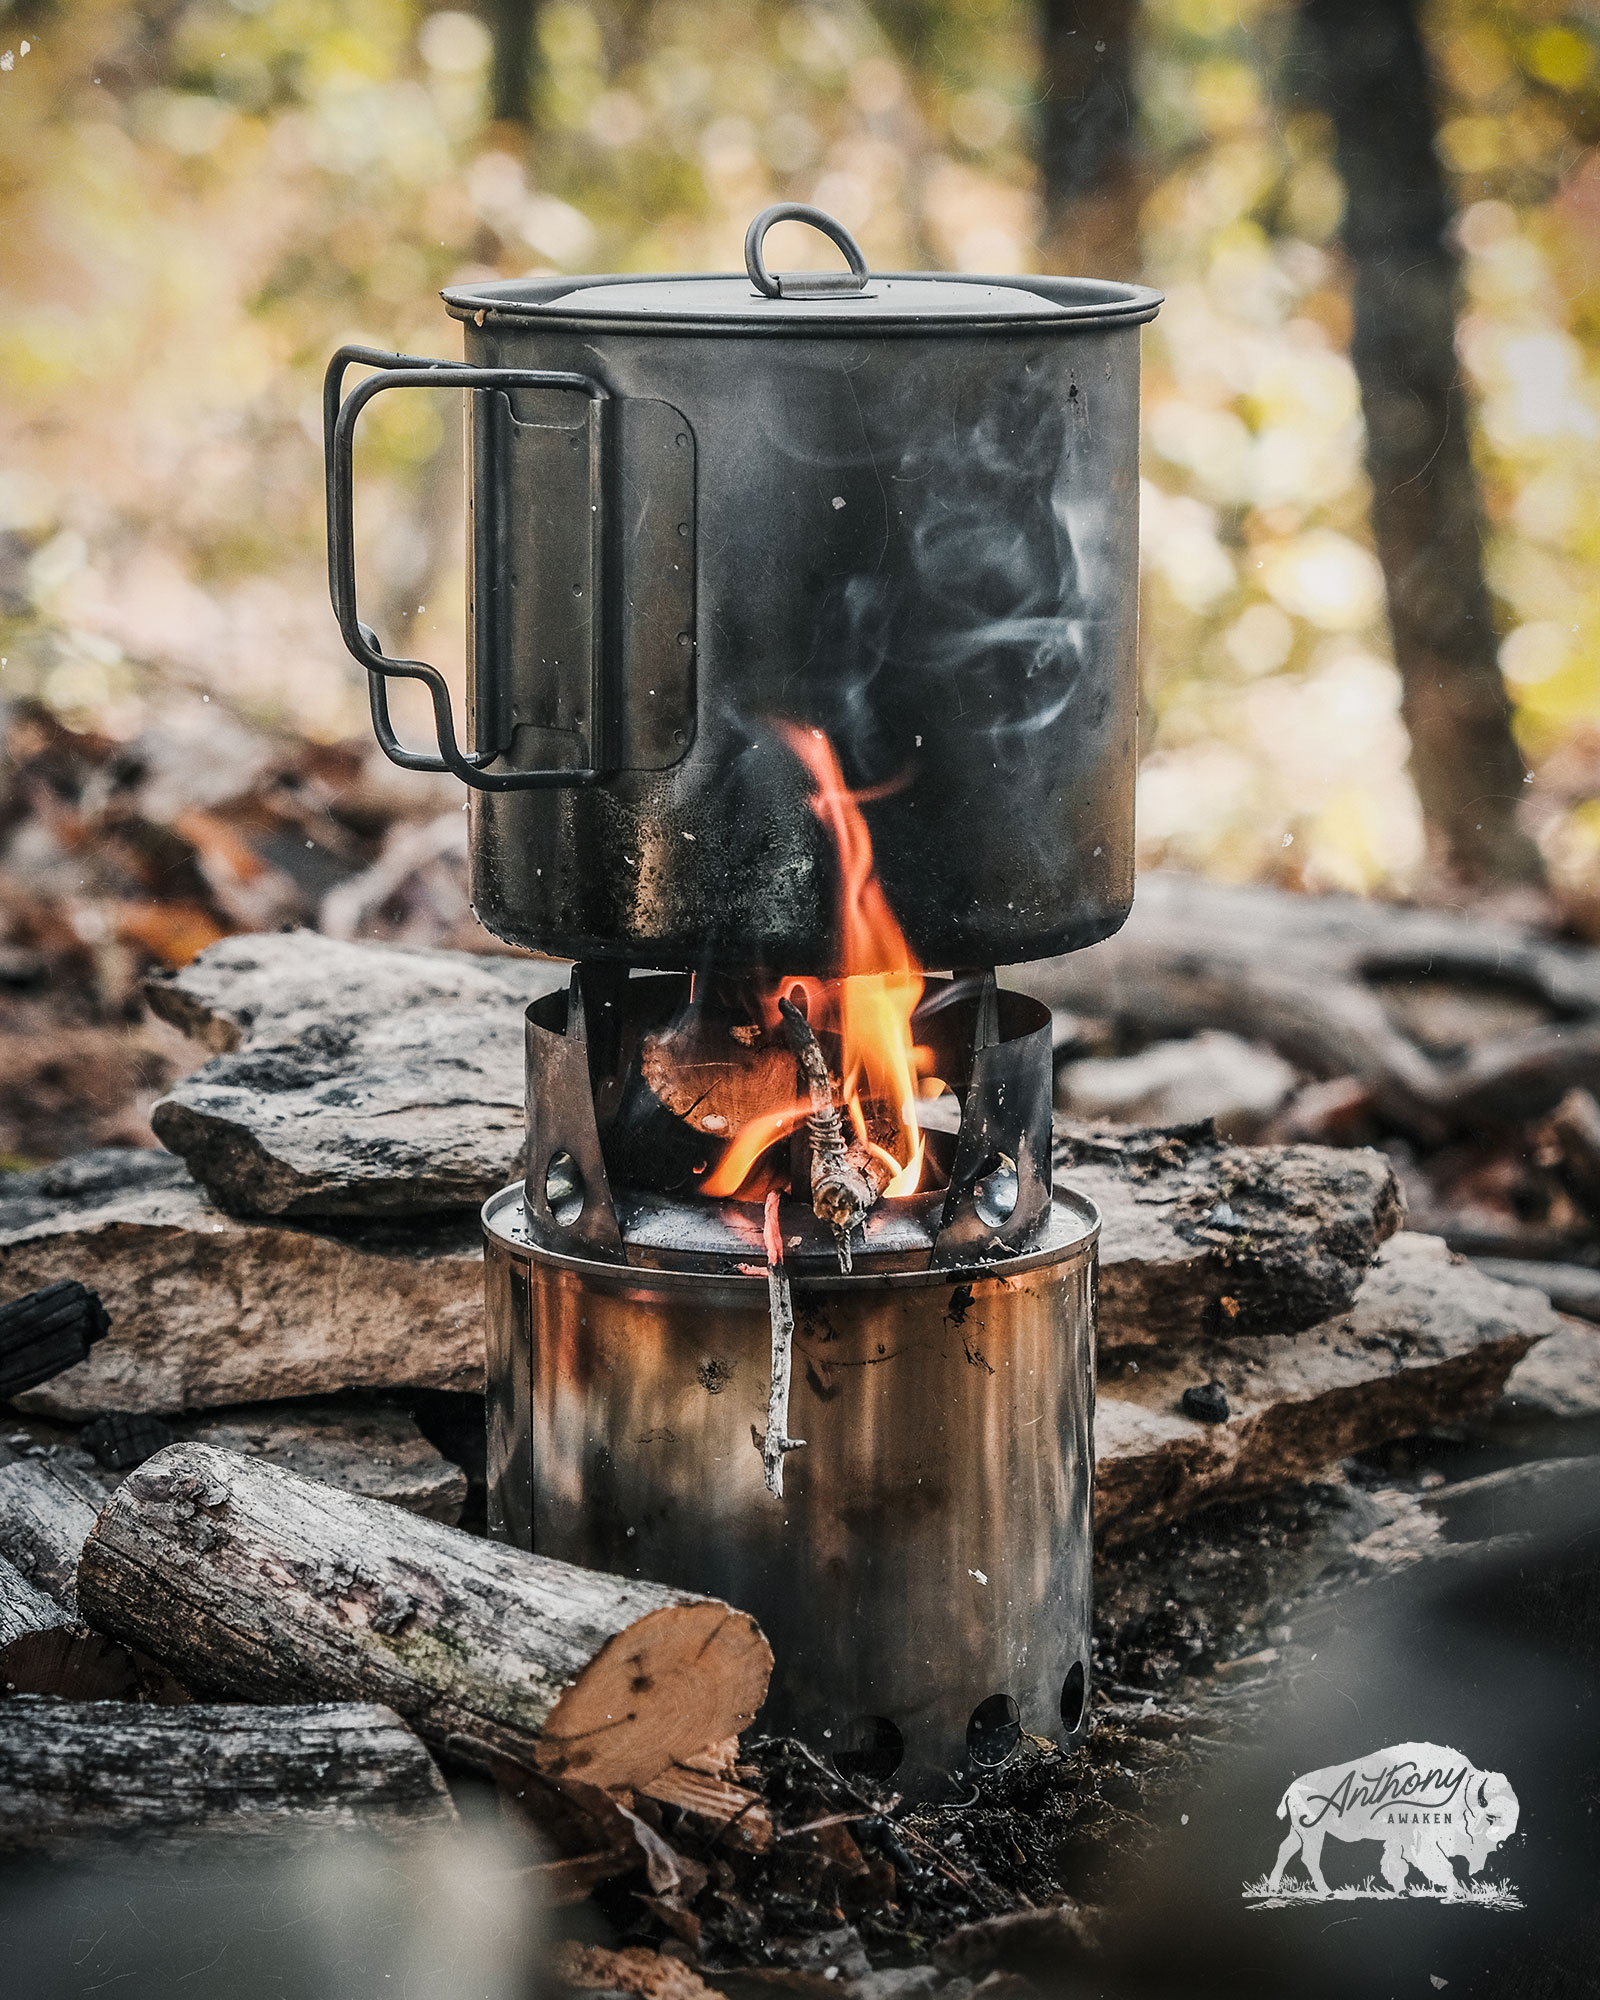
When your coal base is formed in the BushBuddy Twig Stove, place some larger pieces of fuel on top of the coals (being careful not to disrupt your coals or break them apart too much). These larger pieces of fuel will burn slowly and give you the heat needed to cook for as long as 30-45 minutes at a time.
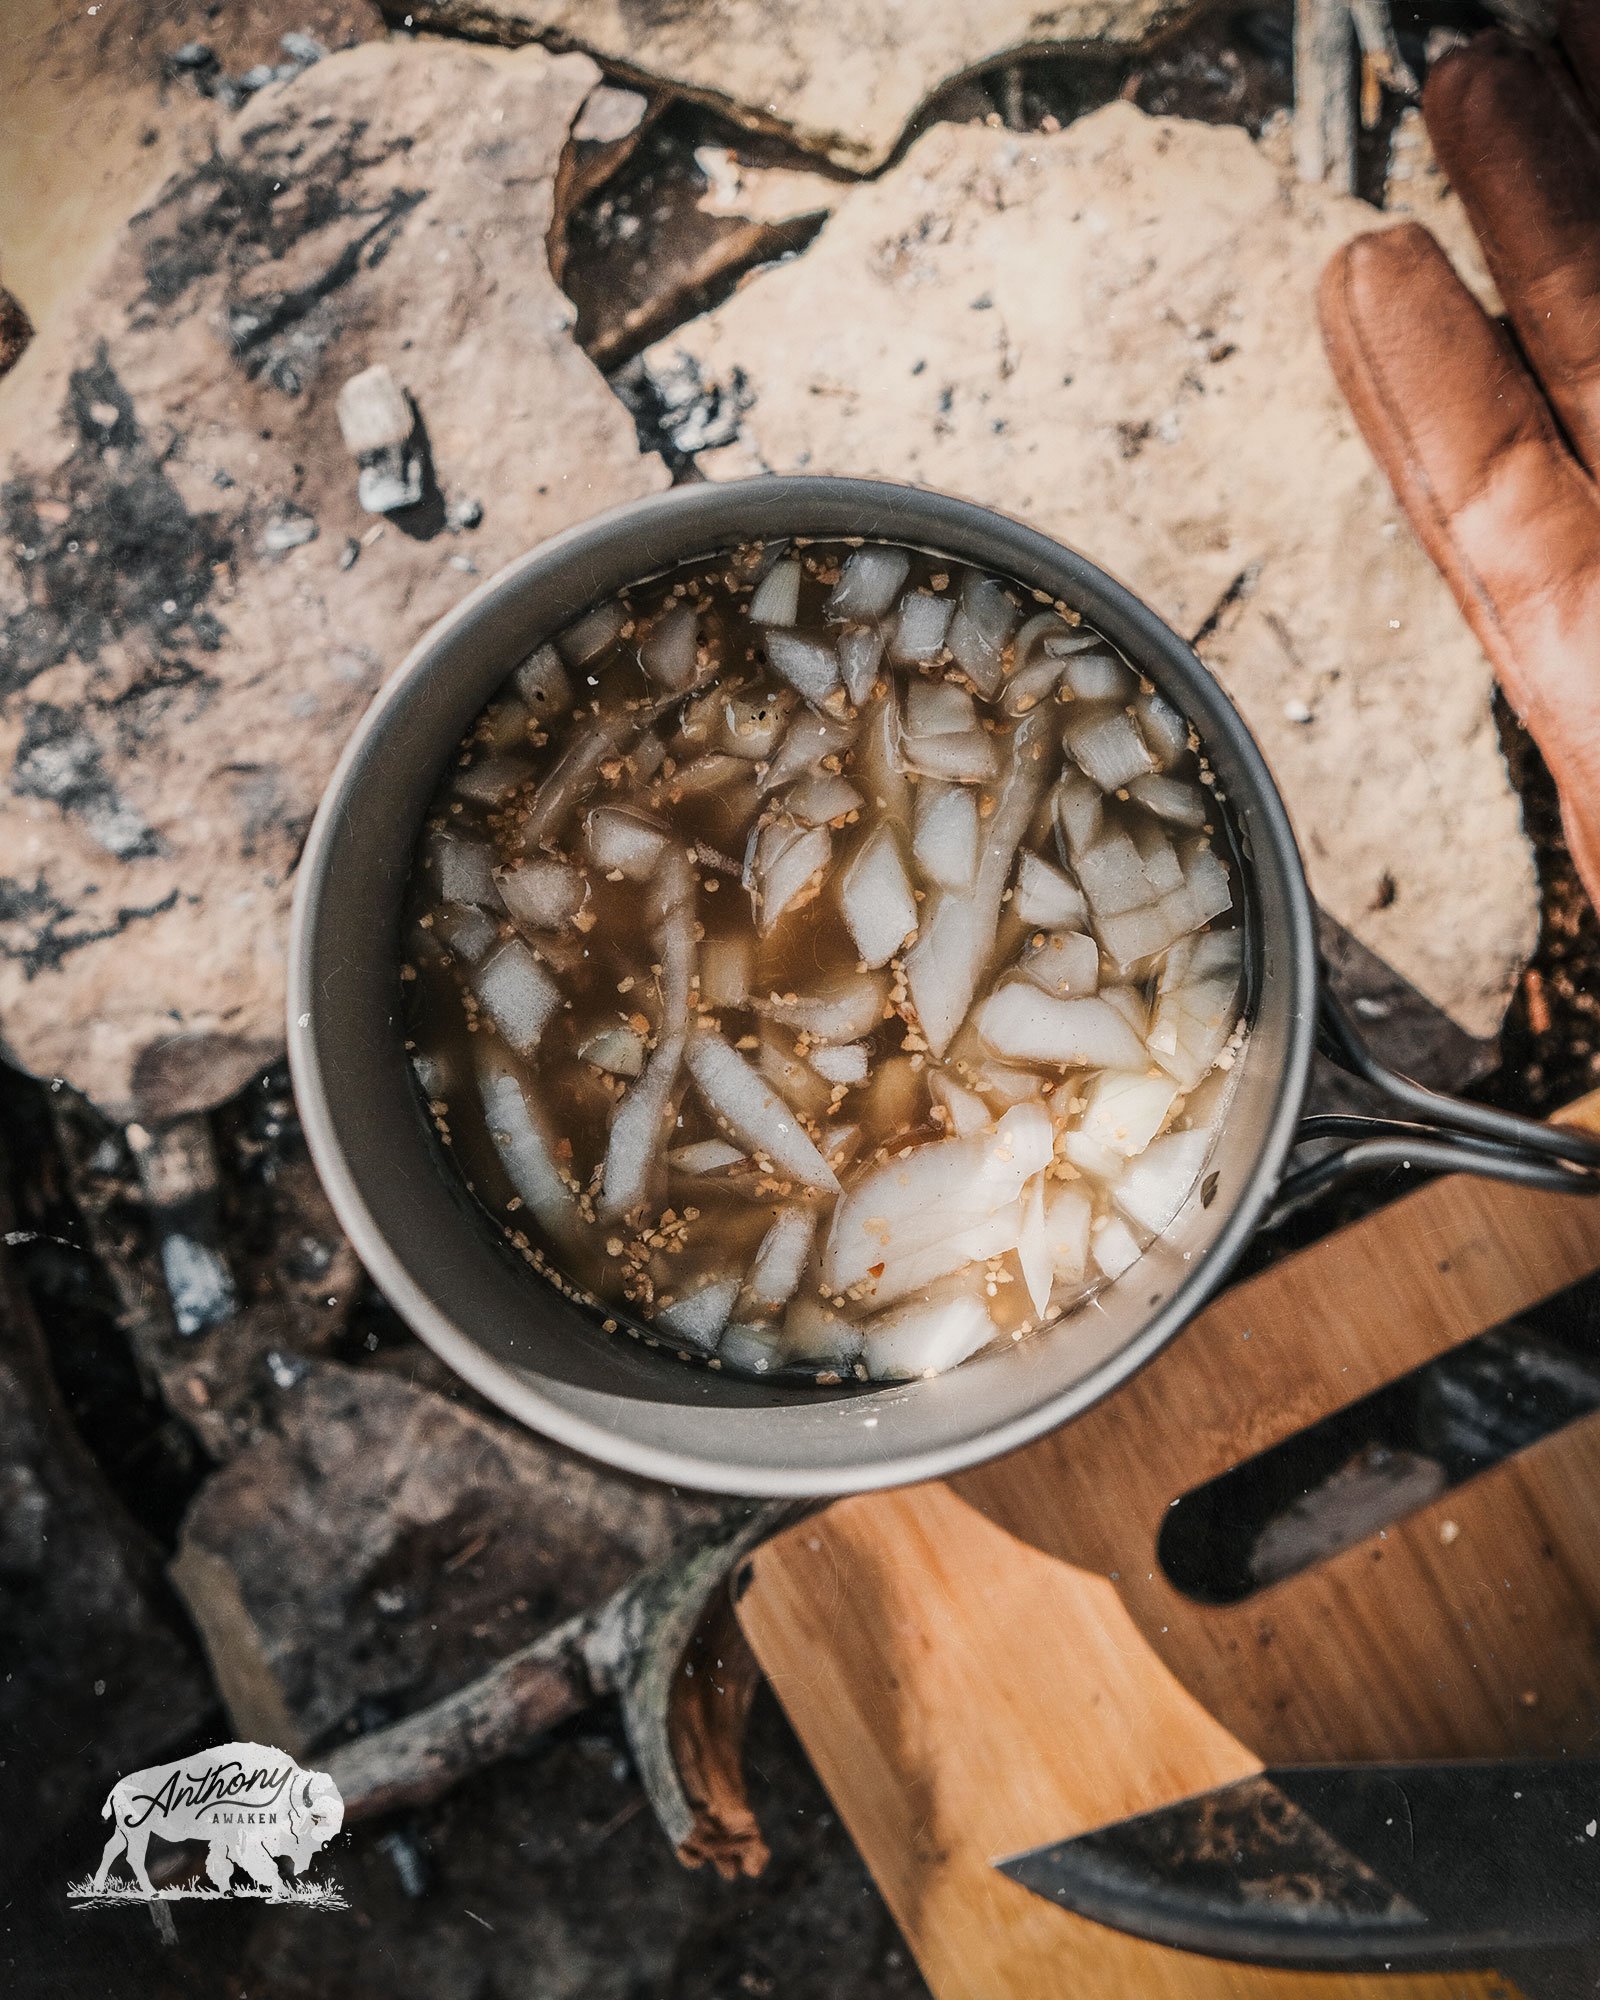
Next, put a very small amount of bone broth into your pot, toss your onions + garlic in, and put your lid on. Leave these in for 5 minutes or so to simmer and caramelize. You can take this time to cut up the remainder of your potatoes & carrots as well.
Once your onions + garlic are done, fill up your pot with broth & the remaining vegetables for your soup.
Campfire Cooking Tip: Set up your stove + pot on a stable surface. And be very careful while adding all of your ingredients into your pot. It can get really heavy and slosh around, resulting in a big spill. (speaking from experience, sadly)
Gear Above: Bushbuddy Twig Stove and Paria 1.1L Titanium Pot
Tips for Cooking on a Twig Stove
Cooking on a twig stove takes a bit of practice, so give yourself some grace if you don’t get it right the first time. Here are some tips that I would share for those of you who are just starting out:
- Coals:
Establish your coal base before trying to cook. This will allow you to feed larger diameter wood into your stove (which burns for longer) and you’ll be able to kick back & relax. - Level It:
Find a level surface to set up your stove & pot. You don’t want all of your work to end up on the ground. - Fuel for the fire:
Have a hearty supply of dry + pre-processed small, medium and large diameter wood on hand to feed your stove as it loses heat. - Hard Woods:
Speaking of wood, go for hardwoods if you can. - Relax:
Be patient. Cooking soup over a twig stove always takes some time. I’ve had it take as little as 30 minutes – But sometimes it’s taken well over an hour. So, kick back, relax, and enjoy nature while you’re cooking.
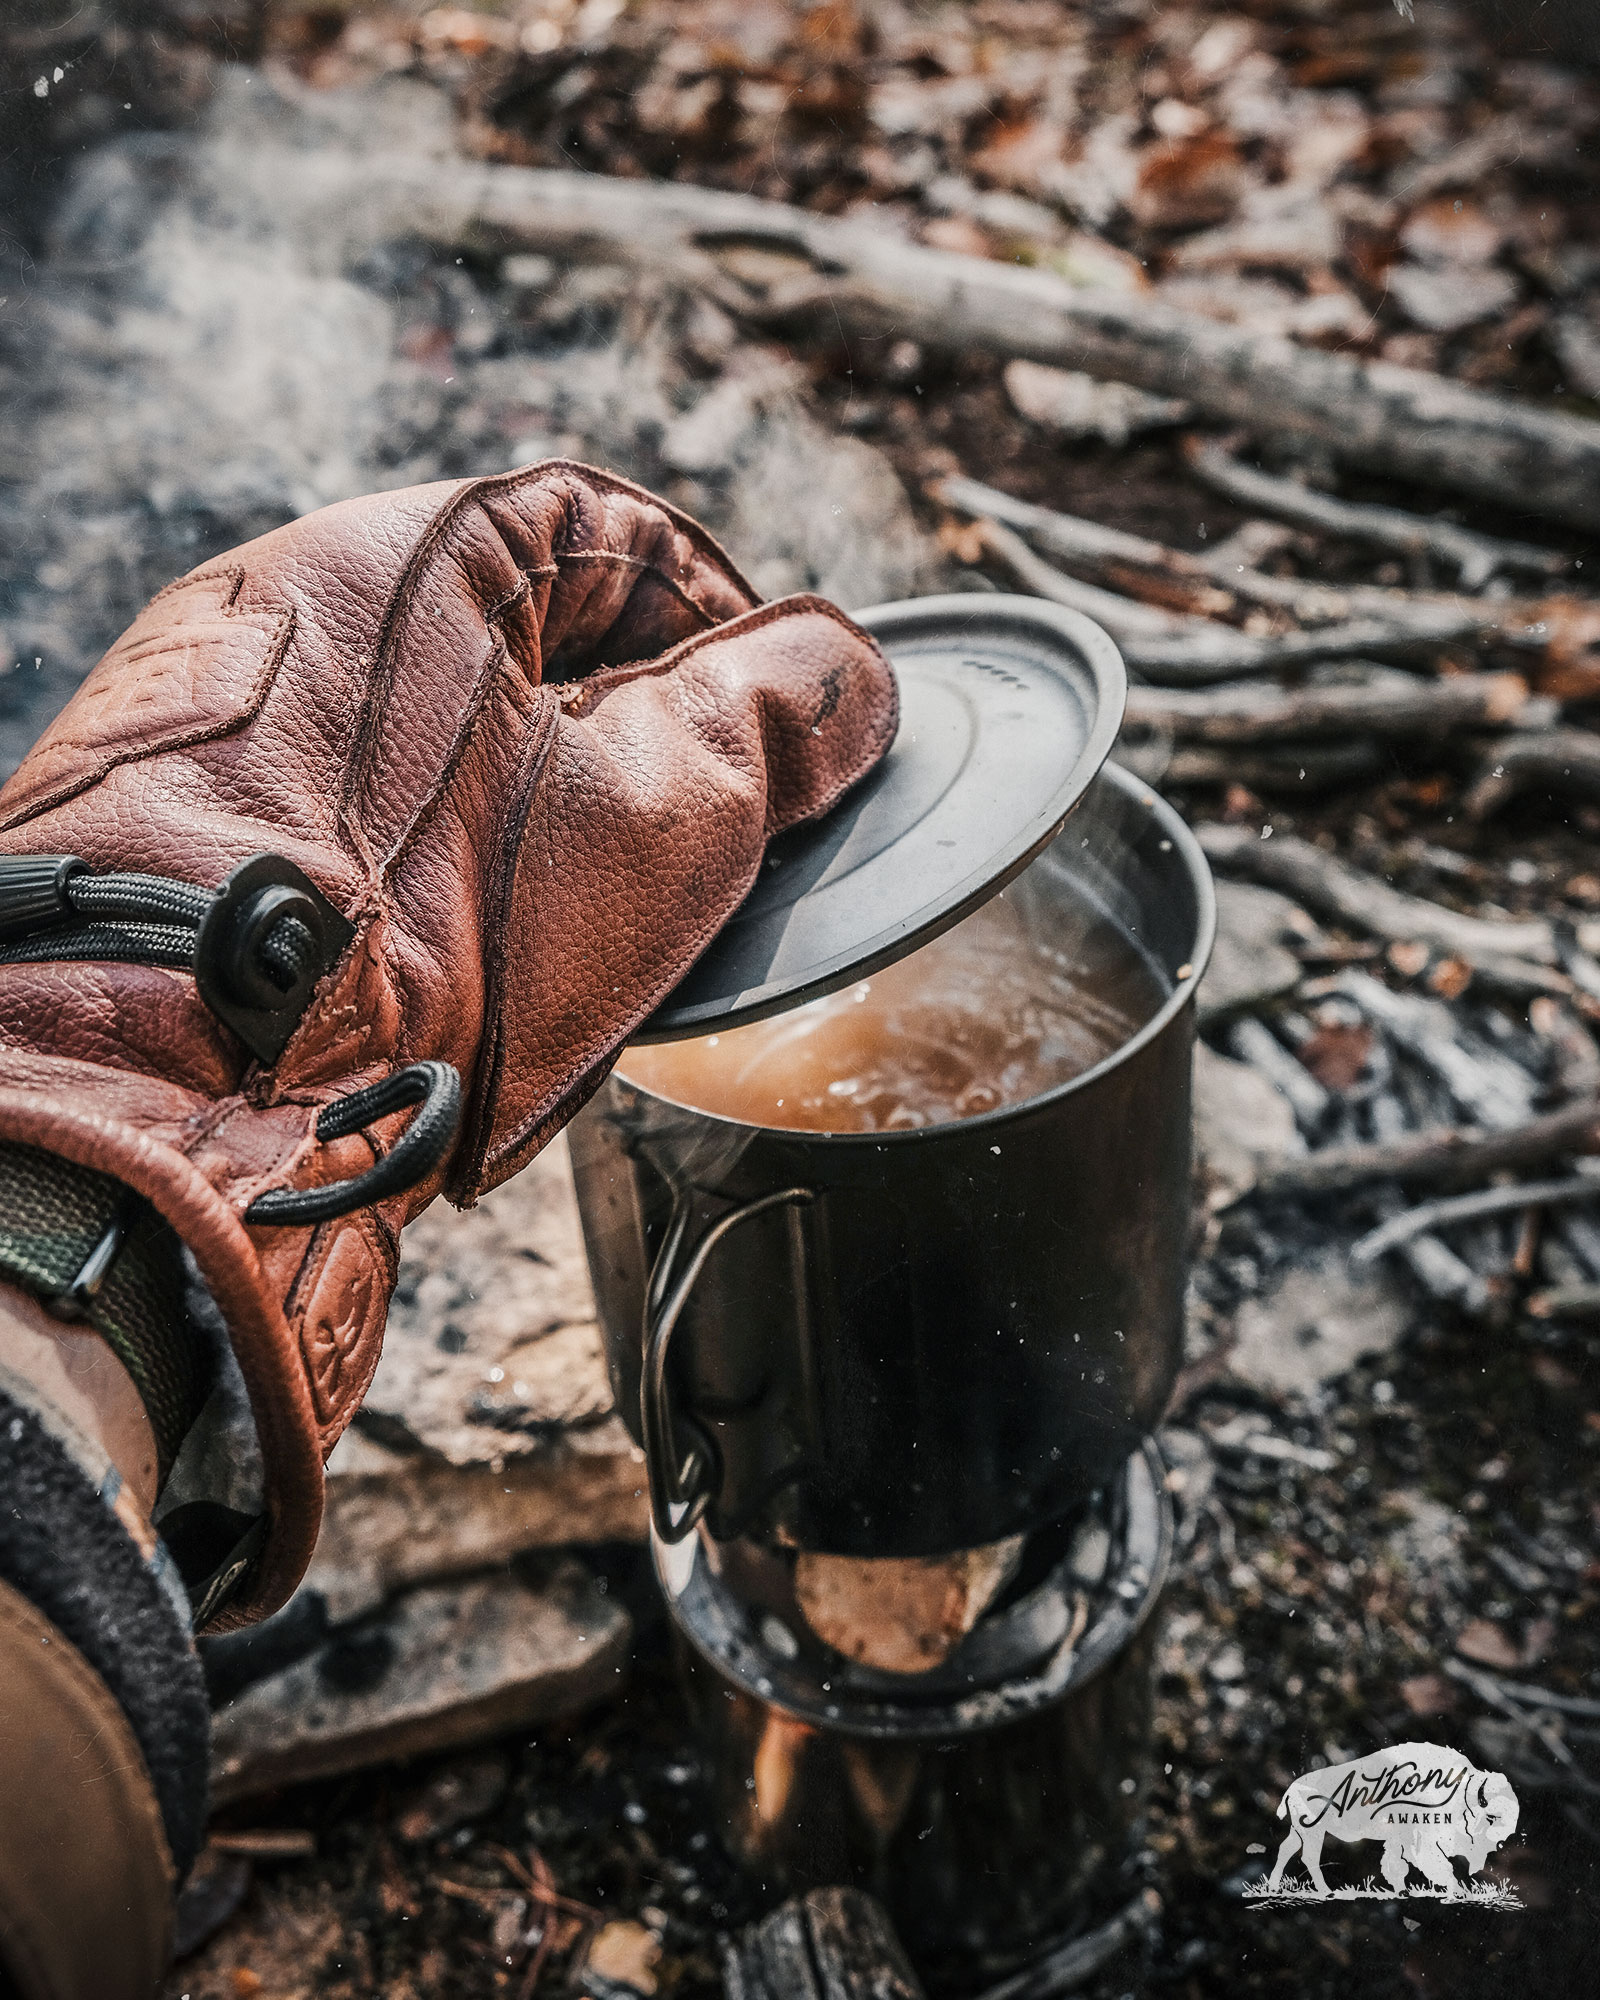
Gear Above: Helikon-Tex Ranger Gloves, Paria 1.1L Titanium Pot, Bushbuddy Twig Stove
Leather Camp Gloves
One of the biggest tips that I can give to any outdoorsman or outdoorswoman is to have a good pair of leather gloves on hand. Me personally, I’m using the Helikon-Tex Ranger Winter Gloves this year and I’m loving them.
Leather gloves will help protect your hands from being burned while handling hot pots and managing your twig stove. They are also a must-have while using sharp tools around camp. I can’t count the times I’ve been thankful to have my gloves on.
Wait. Keep that fire alive…
Ah…The camp soup is finished and it’s tasting great. But wait, keep that fire alive.
If it’s really cold outside, you’re going to want to keep your soup hot. Especially if you cooked too much to eat in one sitting. Also, what backcountry meal is complete without some hot tea or coffee?
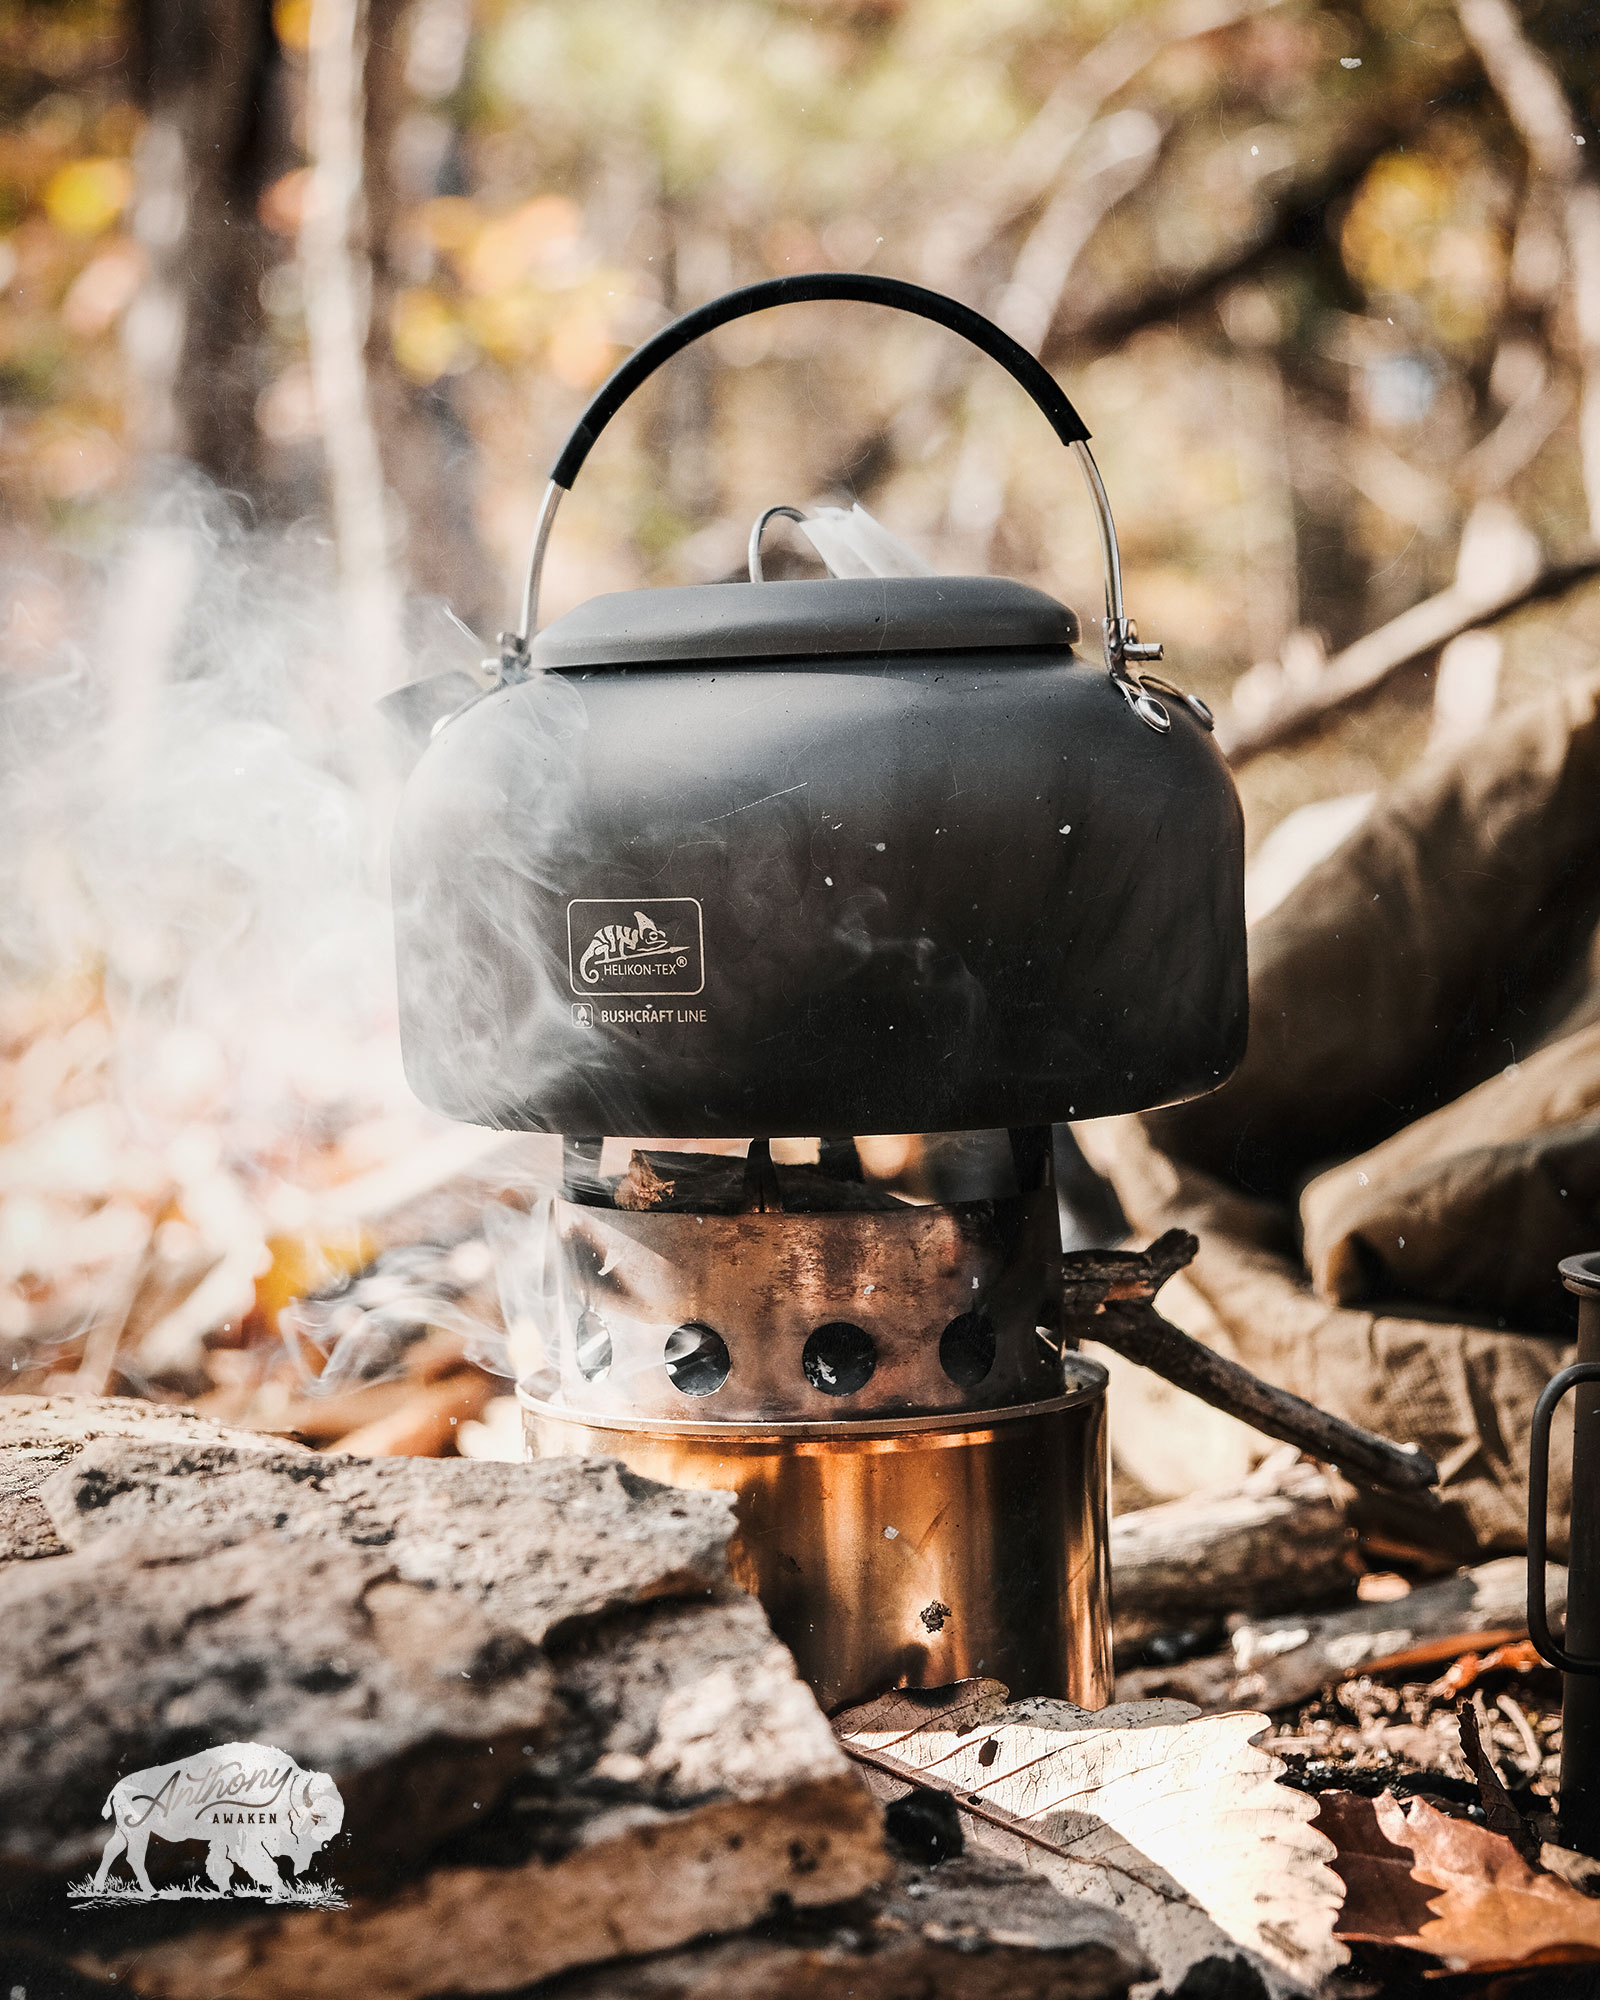
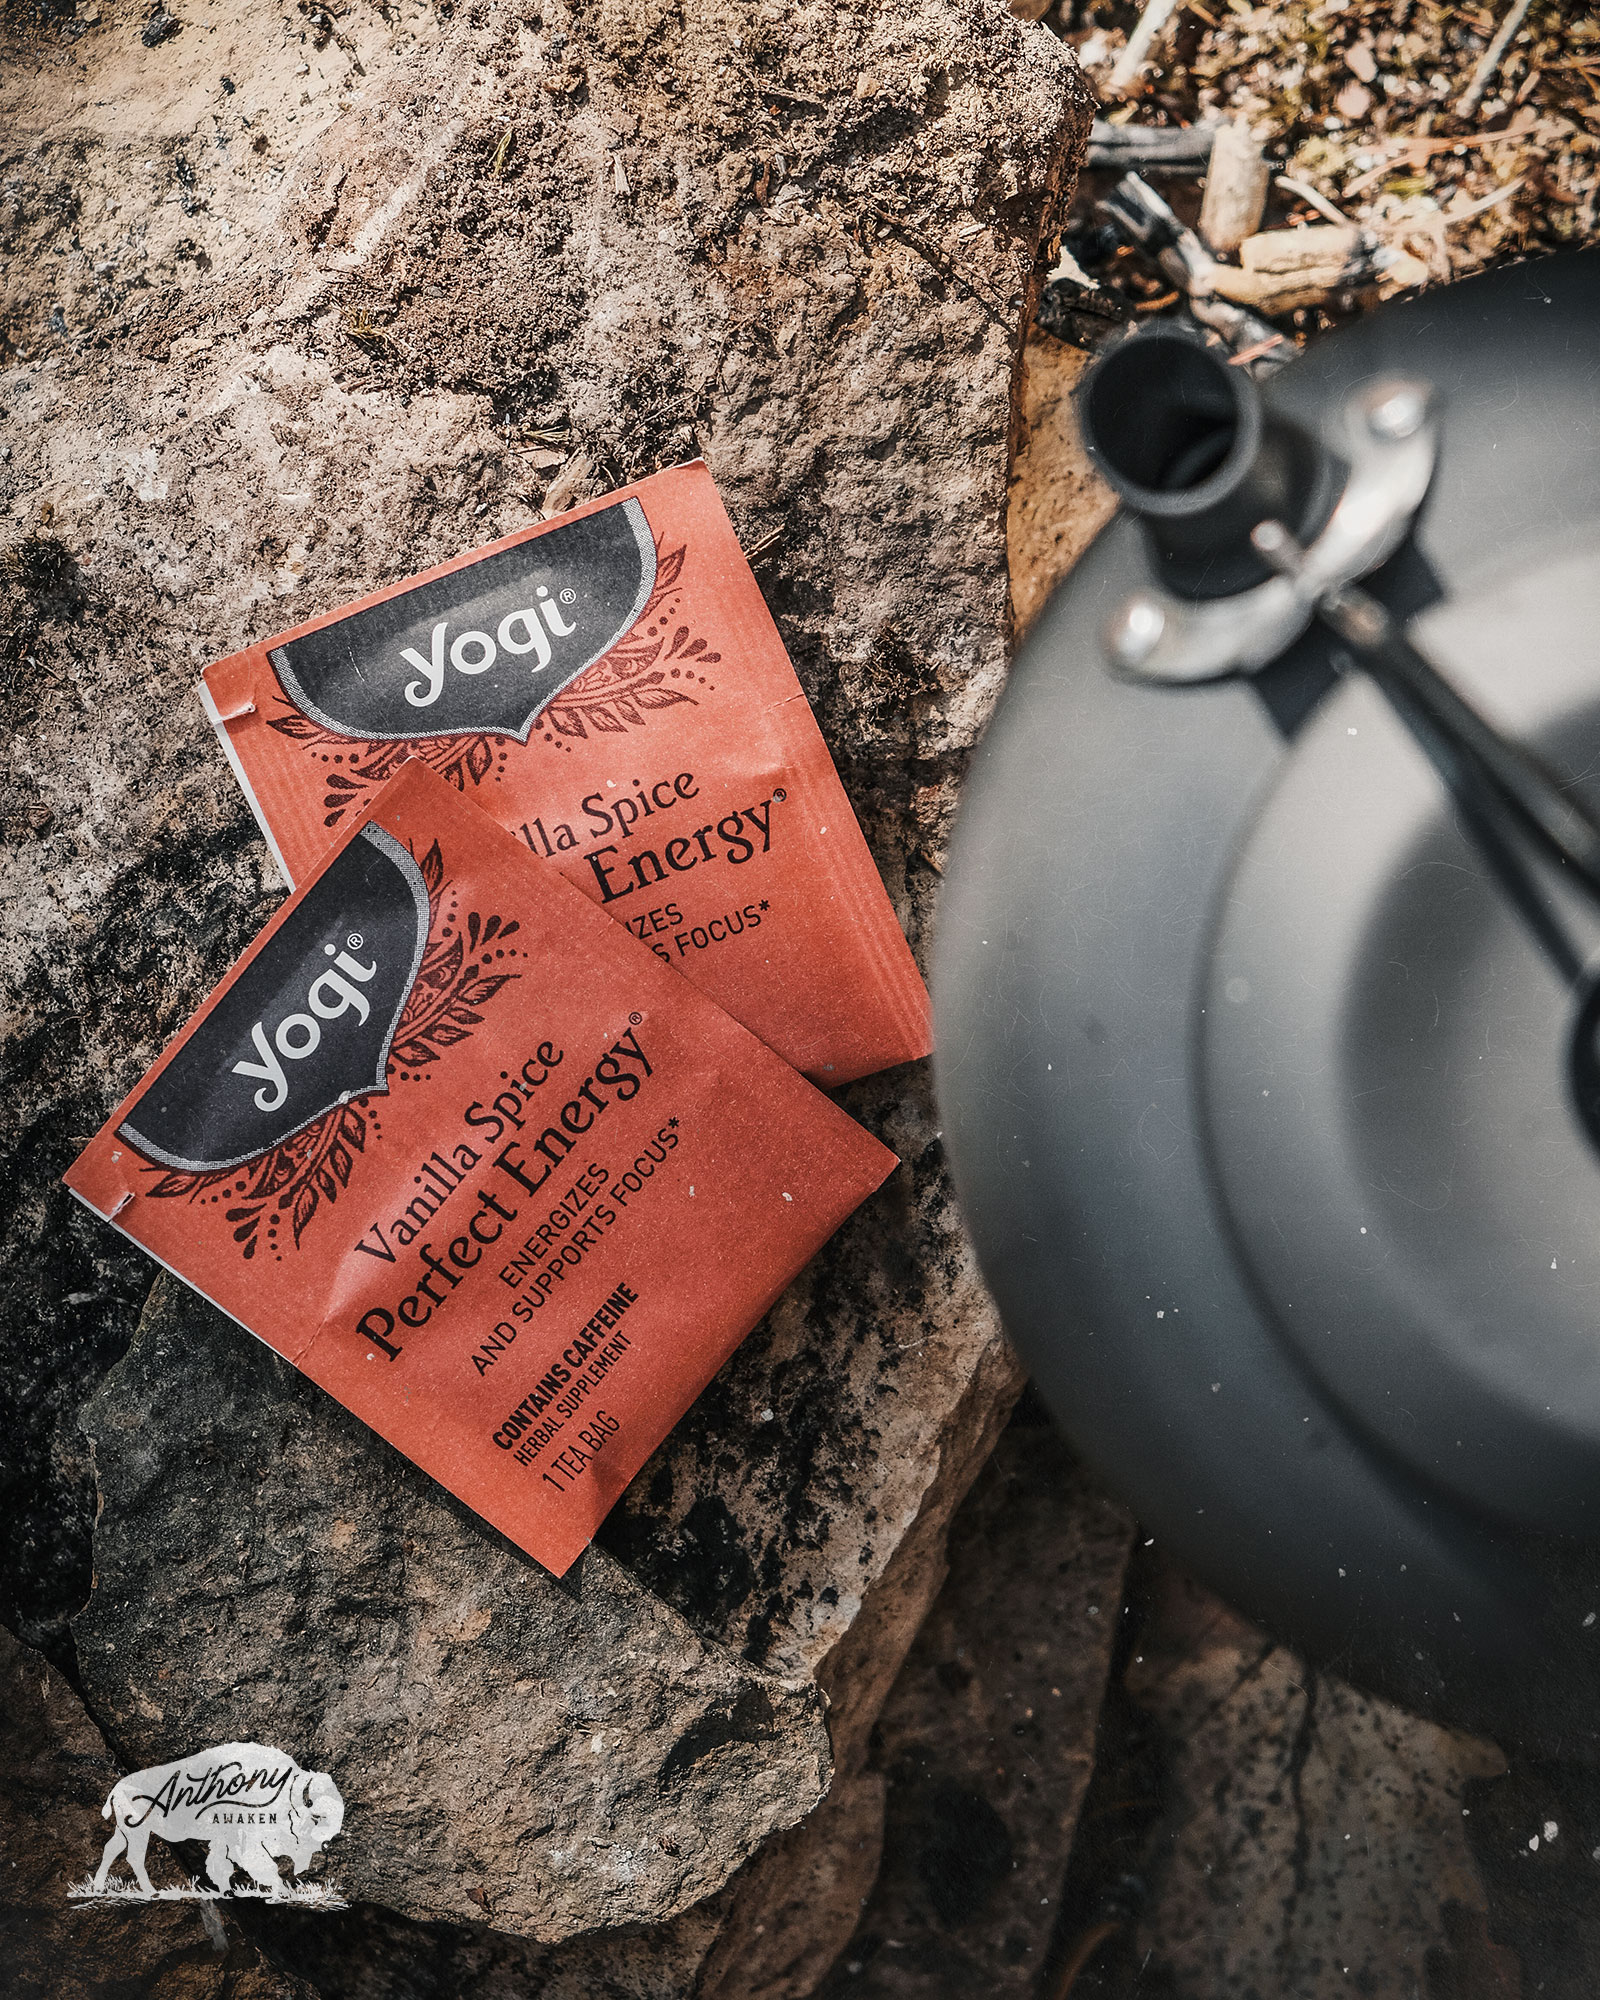
Gear Above: Helikon-Tex Camp Kettle and Bushbuddy Twig Stove
Camp Kettle
Like I said, no backcountry meal is complete without a hot cup of tea or coffee. So, keep that fire alive, throw your Camp Kettle on the stove and make yourself a warm cup of whatever you like to drink.
A hot drink really helps to round out your meal and add to the overall experience of dining in the woods. (afterall, who really wants to drink filtered creek water again?)
Well, that about does it for Camp Cooking in the Woods with me. I hope you all have a chance to get out and cook for yourself really soon. If you have any questions about cooking outdoors or any of the gear in this article, drop me a comment below. I’m always happy to help in any way I can.
Follow me on Social: Instagram • Facebook
Read Next: Paria 1.1L Titanium Pot Review • Camping Gear Reviews
Ethics Statement: The brands mentioned in this article have previously sent gear for me to field test and share honest feedback with you all. None of the brands have previously proof-read or influenced this article in any way, nor am I compesated by them for this content. All opinions, statements, and content are my own. Simply put, if I like a piece of gear, I use it and talk about it. If I don’t like it, it gets tossed into a bin.
Affiliate Links: Some of the links within this article are Amazon Affiliate Links. I earn a small percentage-based kickback if you purchase from these links, at no extra cost to you. Please help me out by buying through my links if you can.

